How Can We Help?
How to Create Live Discussions on ClassHook
Introduction
ClassHook videos are already a great way to ensure your students remain engaged with the topic you’re teaching. Live discussions on ClassHook help you take engagement to the next level by actively involving students in the discussion. With Live Discussions, you can show your students a series of clips, ask them questions, and collect responses in real-time.
Why Use Live Discussions?
- Check for understanding and adapt your lesson to meet their needs
- Actively involve students in their learning, which leads to better understanding
- Make class more lively and fun
- Reach all of your students, especially those who tend not to participate in verbal discussions
Video Tutorial
Step 1: Navigate to My Discussions
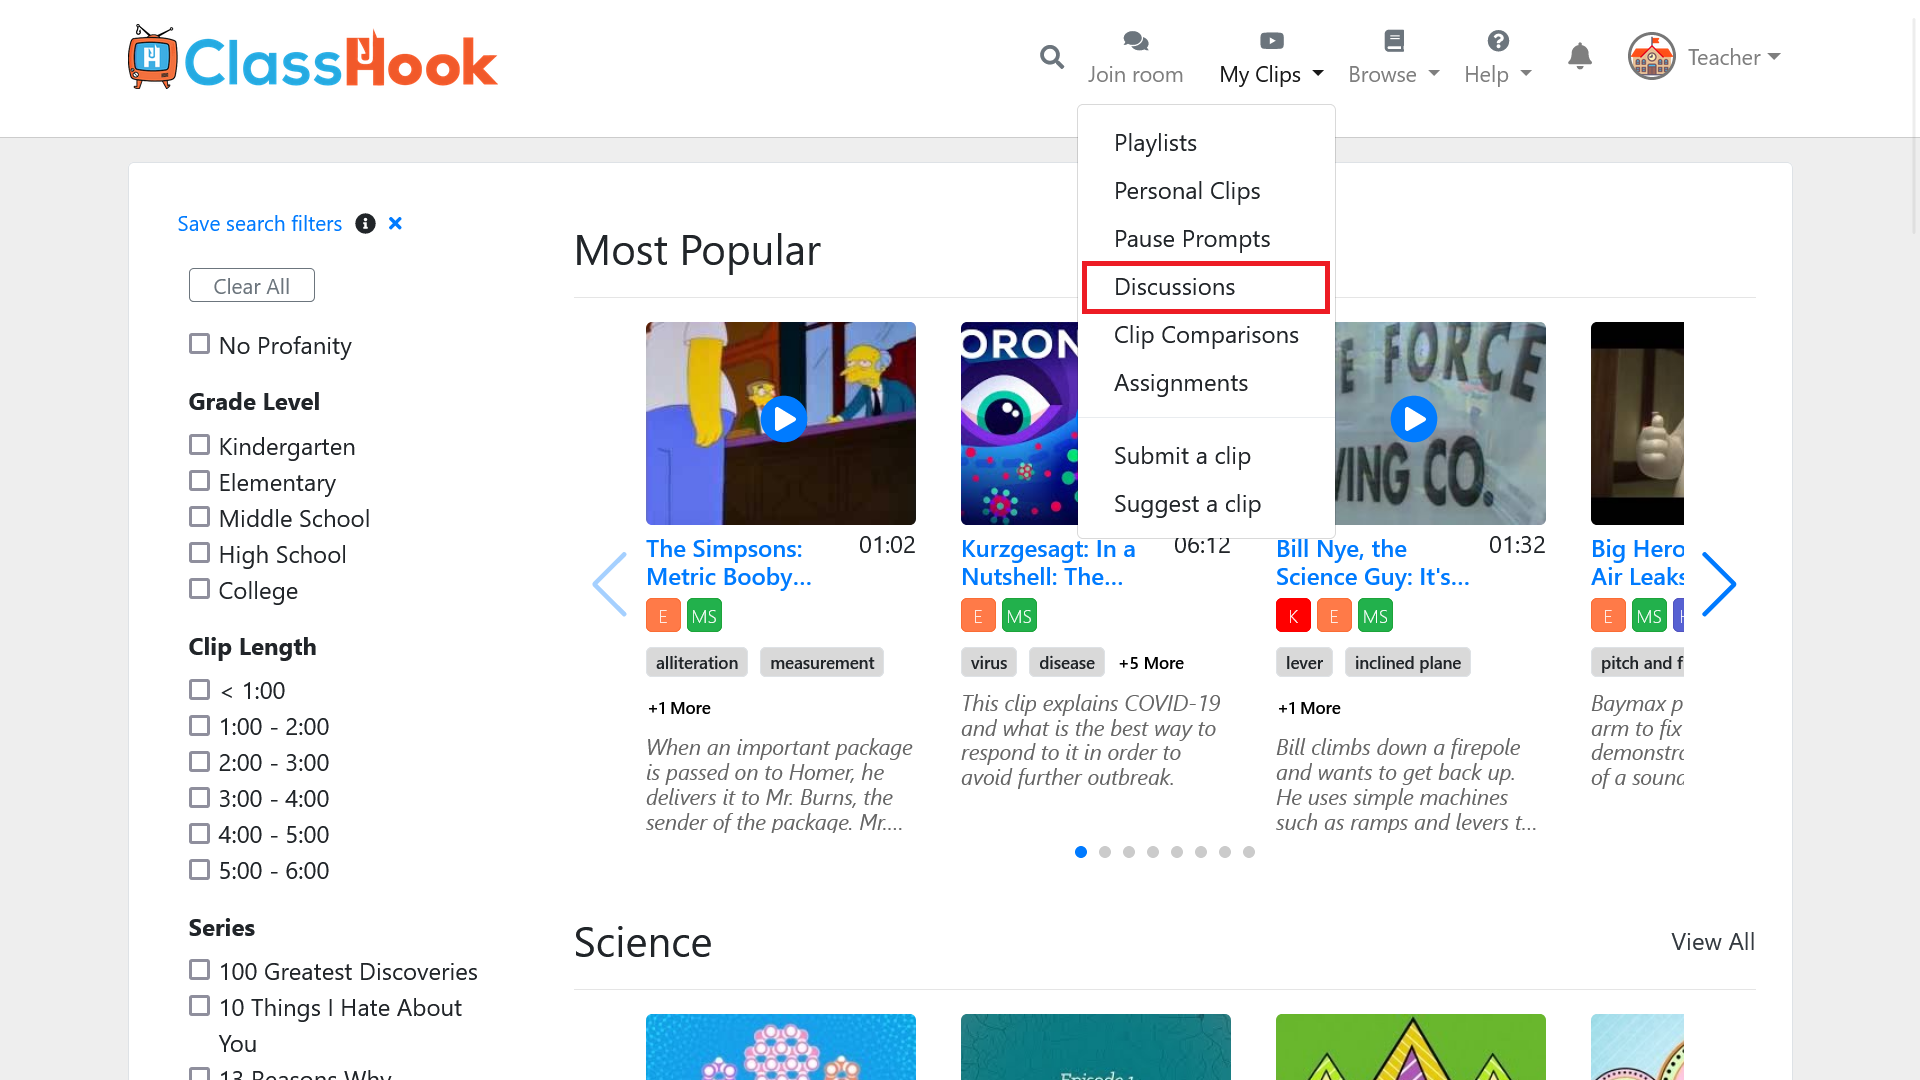
Log into your ClassHook account, then click on My Clips > Discussions in the upper navigation (or click here).
Step 2: Create a New Discussion
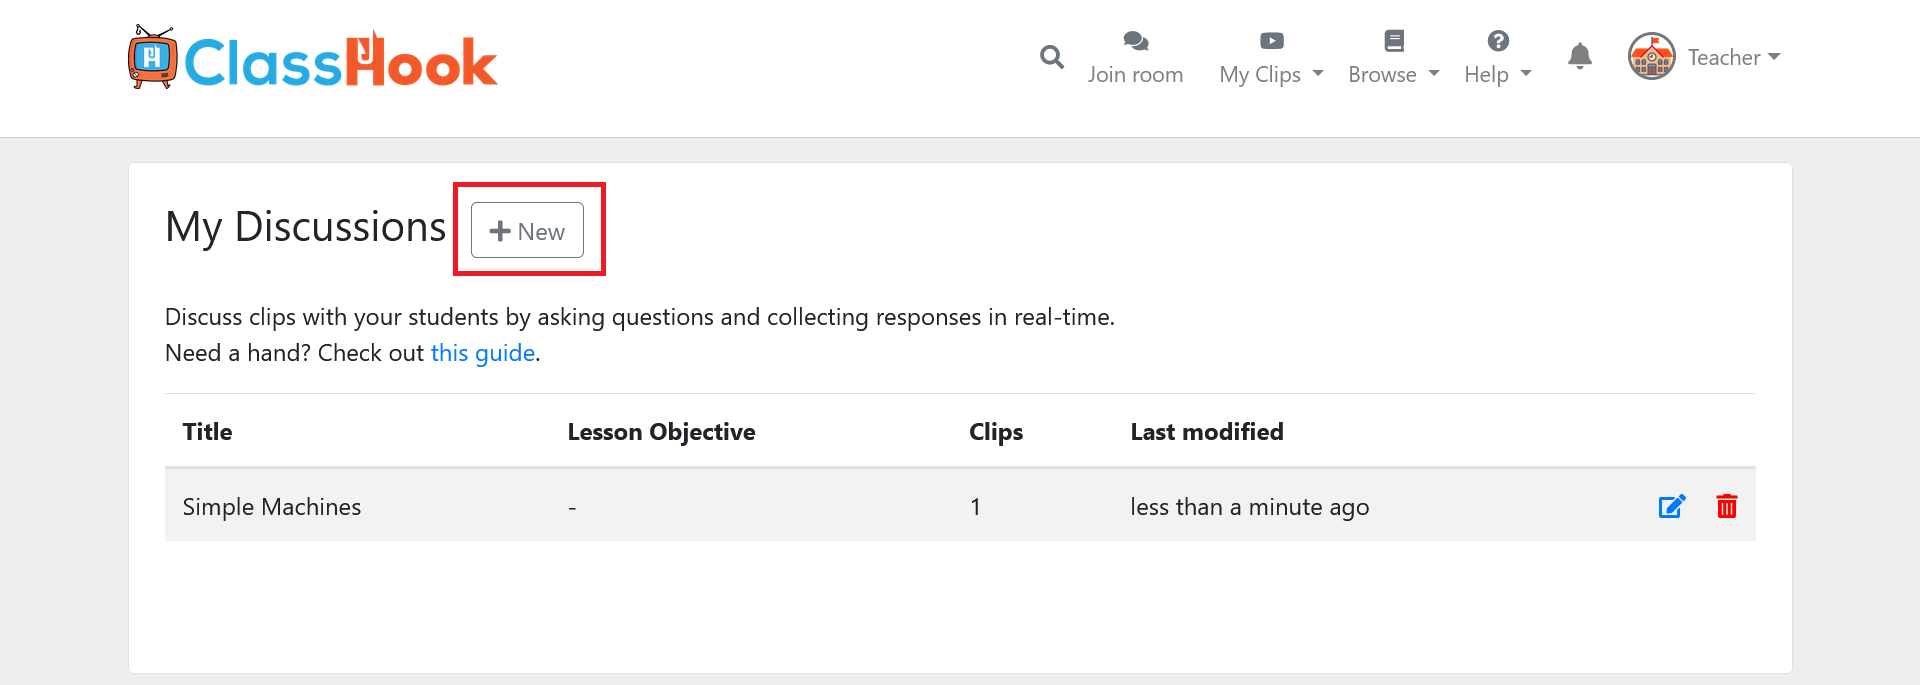
This page lists all of your discussions. Click on the New button.
Step 3: Fill out Discussion Details
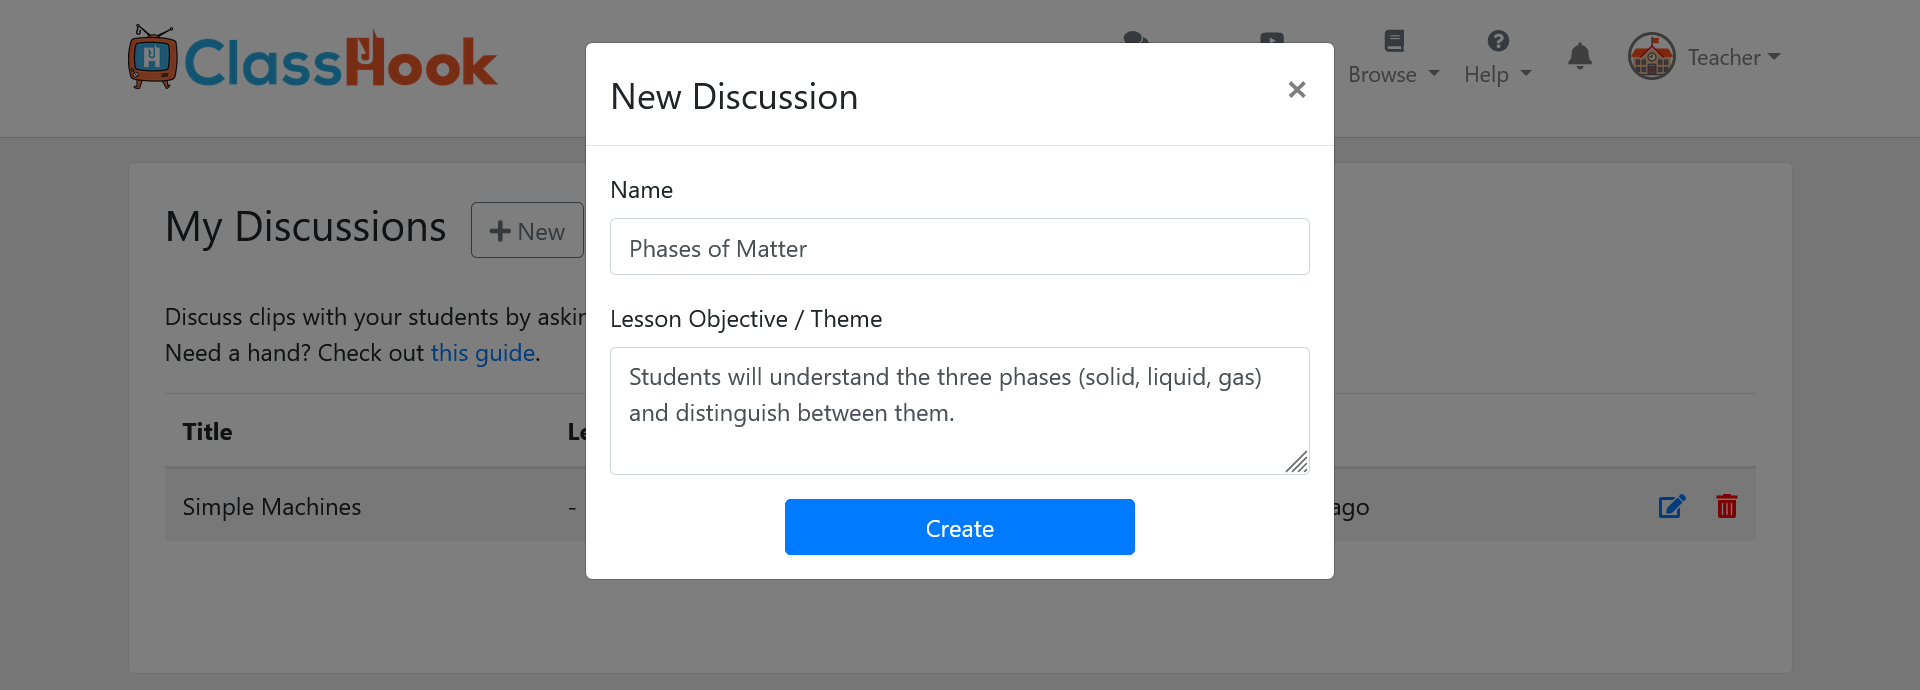
Fill out a name, and optionally, a lesson objective for your discussion.
Step 4: Add Clips to Your Queue
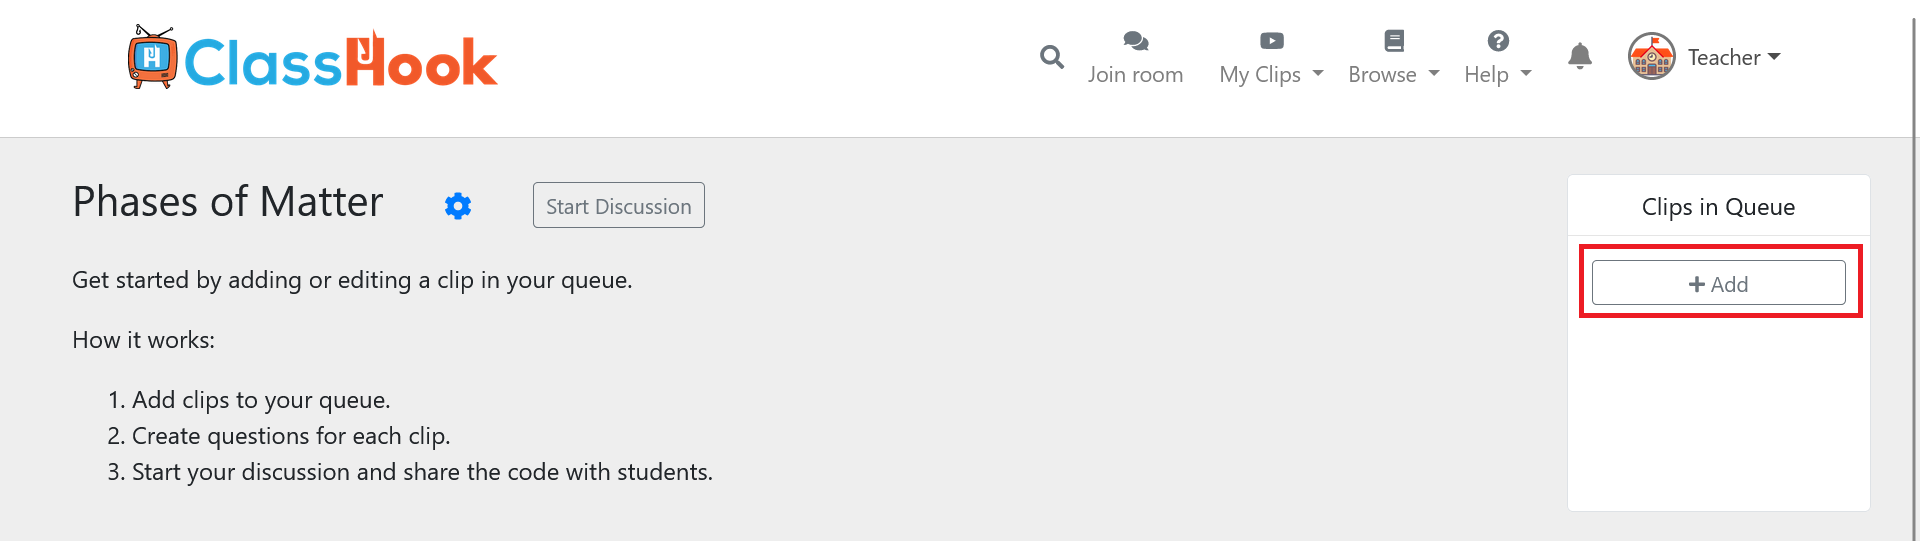
You’ll be taken to the discussion editor. To get started, you’ll need to add clips to your queue. Click on Add button under the Clips in Queue section.
This will show a popup for adding a new clip. You can add clips from your playlists, personal clips, or search for clips on ClassHook.
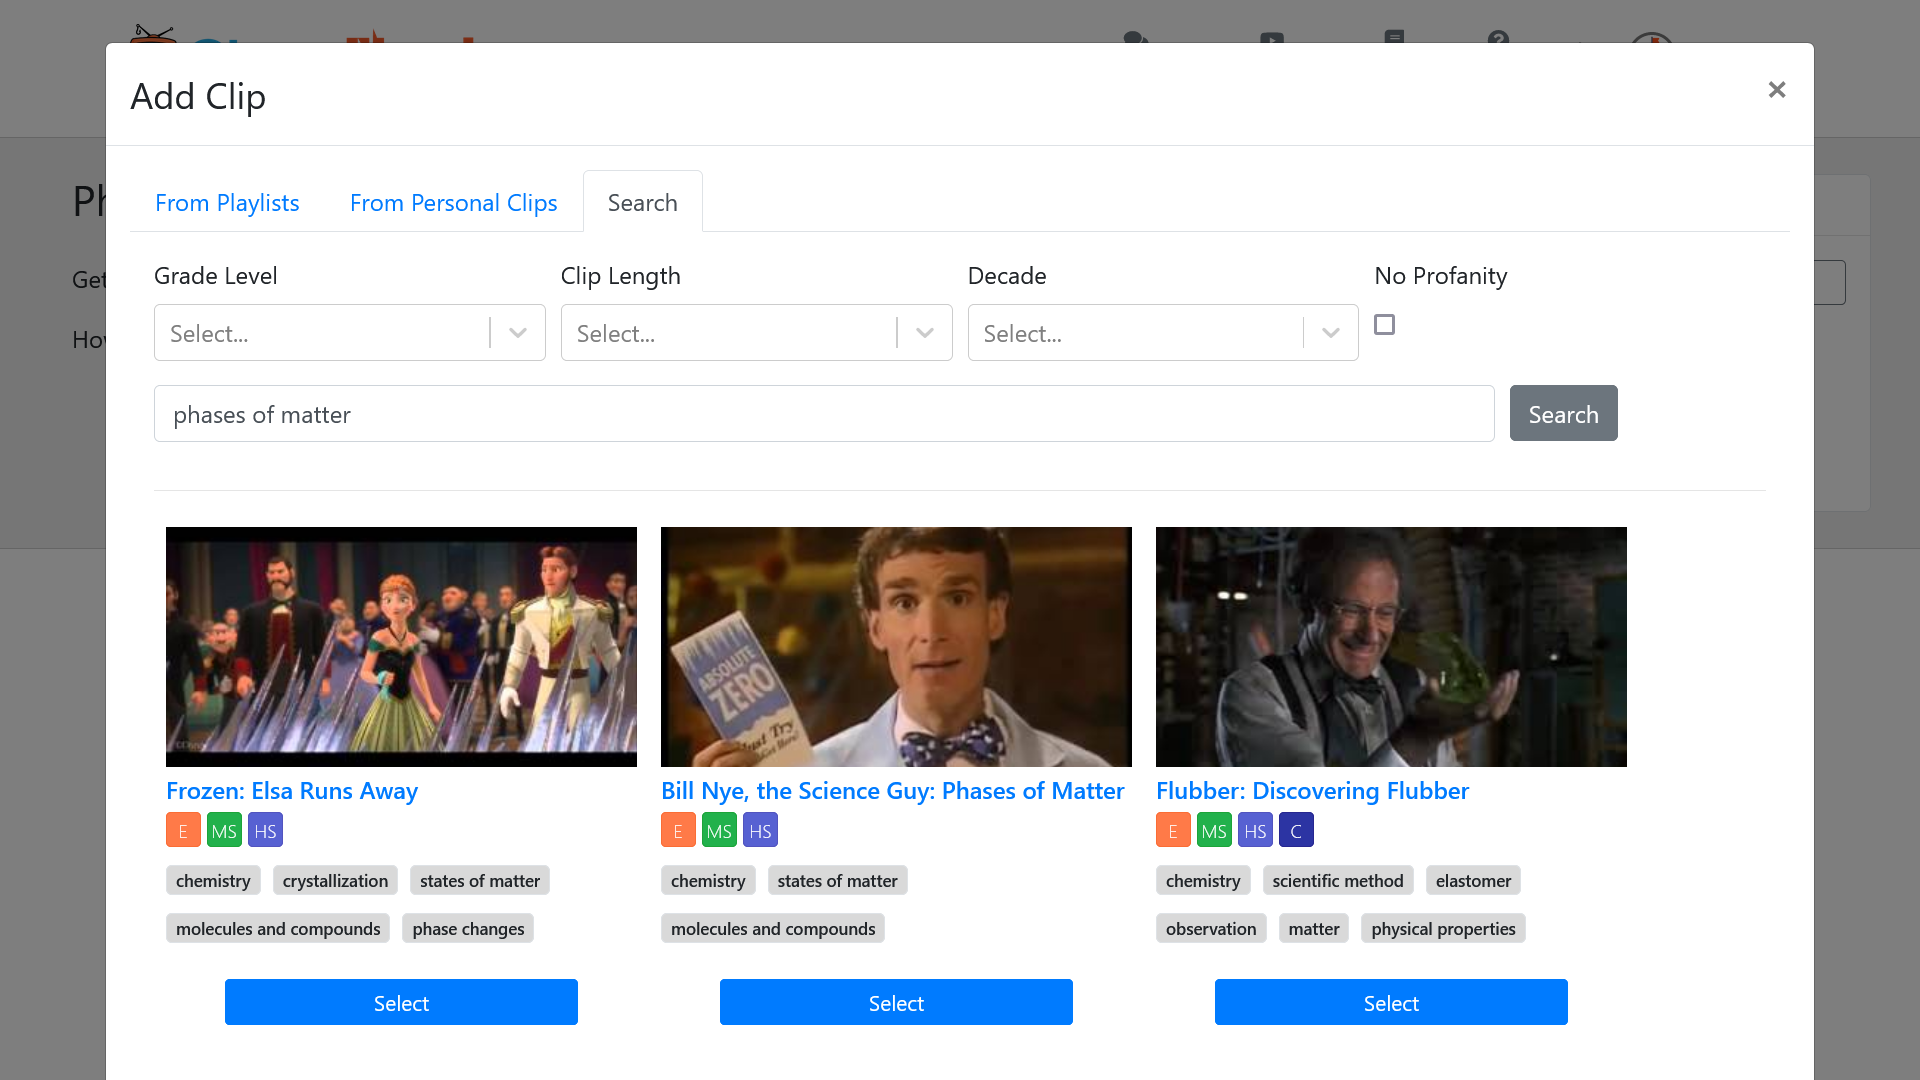
Once you’ve found a clip, you can click the Select button next to or under the clip to add it to the discussion. You can add as many clips as you’d like to your queue to be shown in the discussion. You can also reorder the clips by dragging & dropping them.
Step 5: Add Questions to Your Clips
You could show the clips to your class and have a verbal discussion. If you wanted to collect their responses, you can add questions to pose to your students.
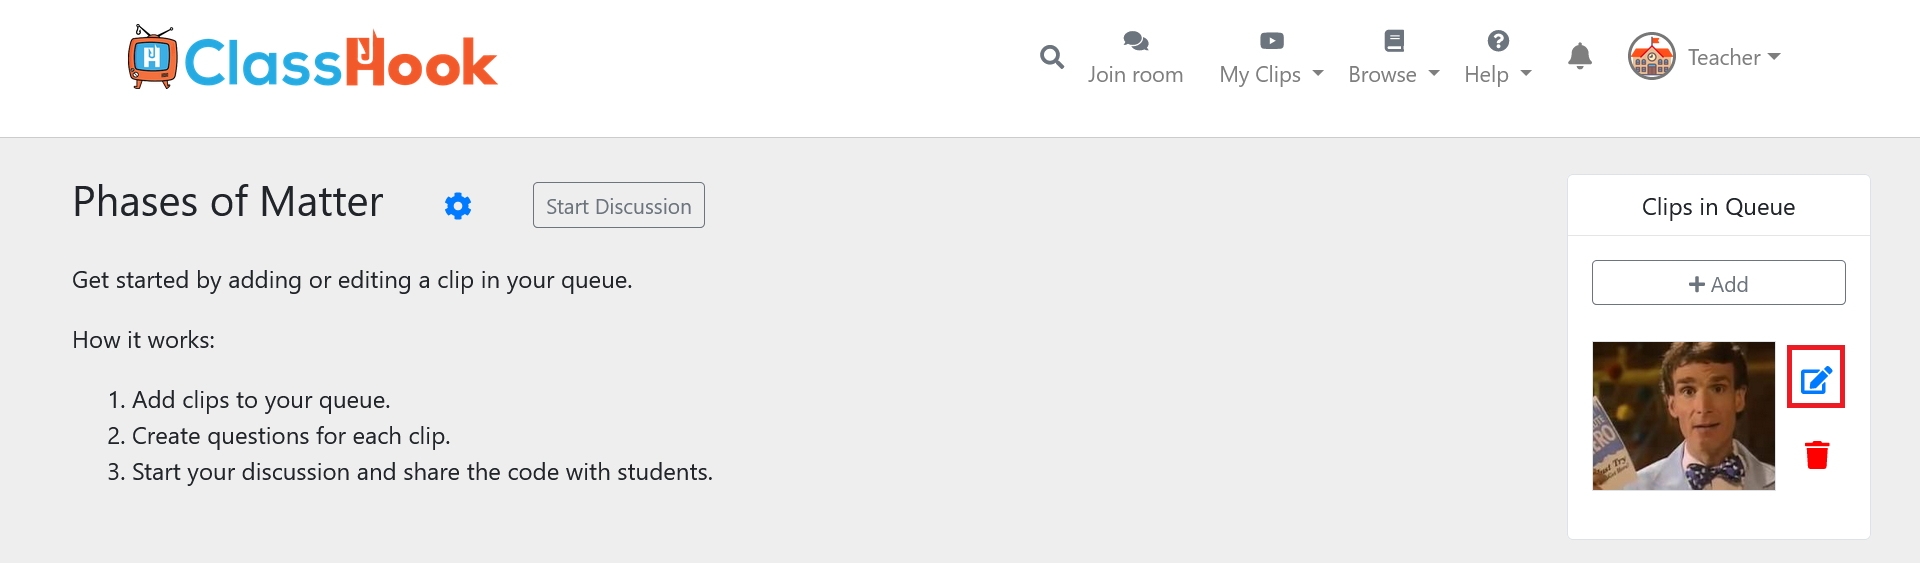
Next to any clip in your queue, click the Edit button that looks like a pencil.
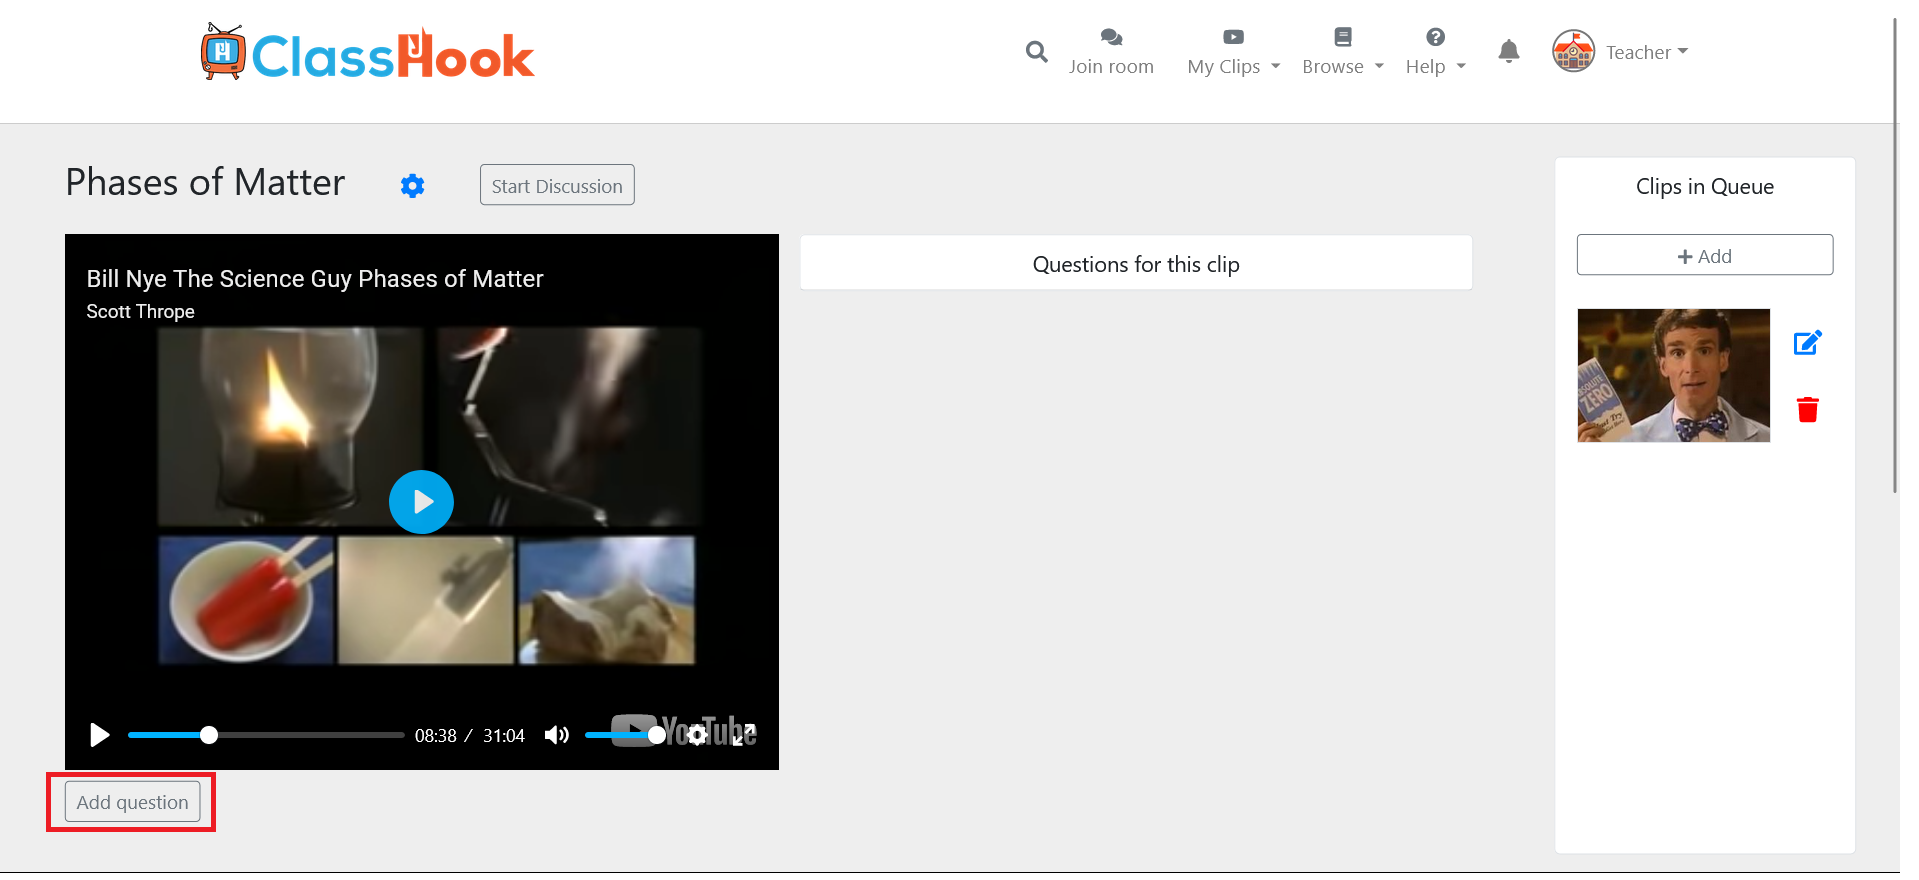
After the video appears, seek to the time in the video where you want to add your question. Then click on the Add Question button to create your question. We advise pausing the video to ensure your question appears at the expected time.
Write your question, adjust the settings, and click Add Prompt once you’ve finished.
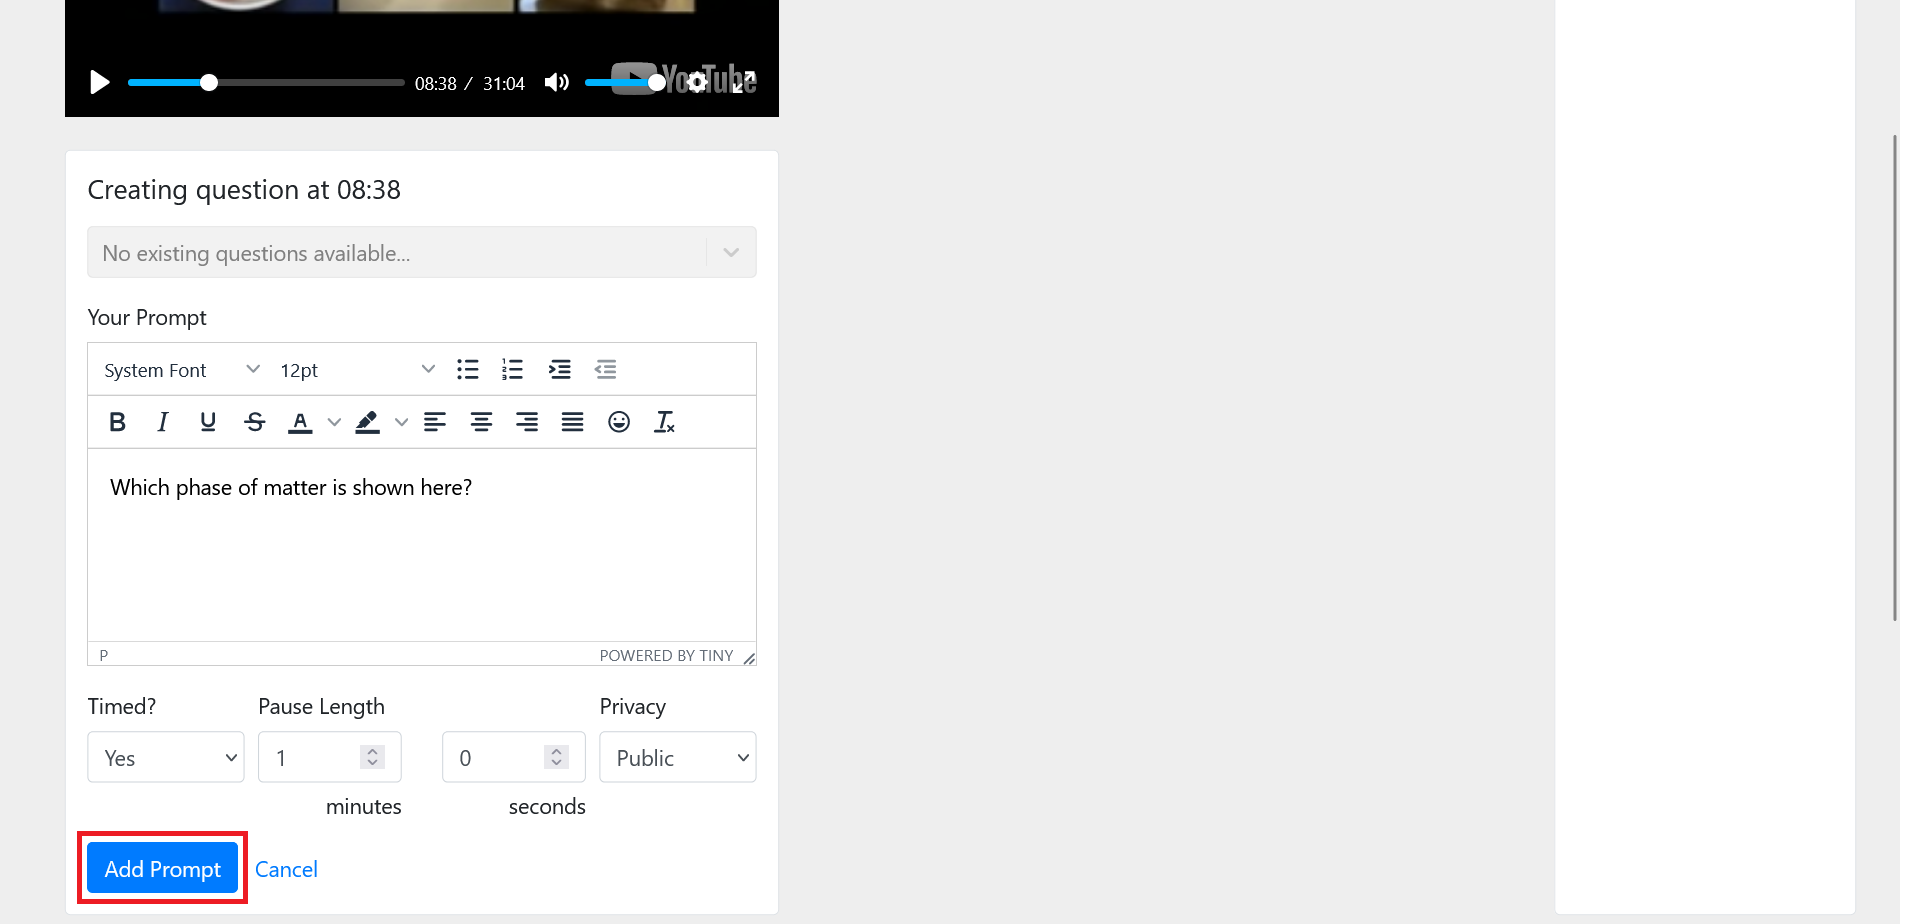
If there are existing Pause Prompts added to the clip, whether by you or the community, you can copy them into the form by selecting them in the dropdown. Repeat this step to add as many questions as you’d like for every clip in your queue.
Note: Educators on the Basic plan are limited to 1 question per clip.
Step 6: Start the Discussion
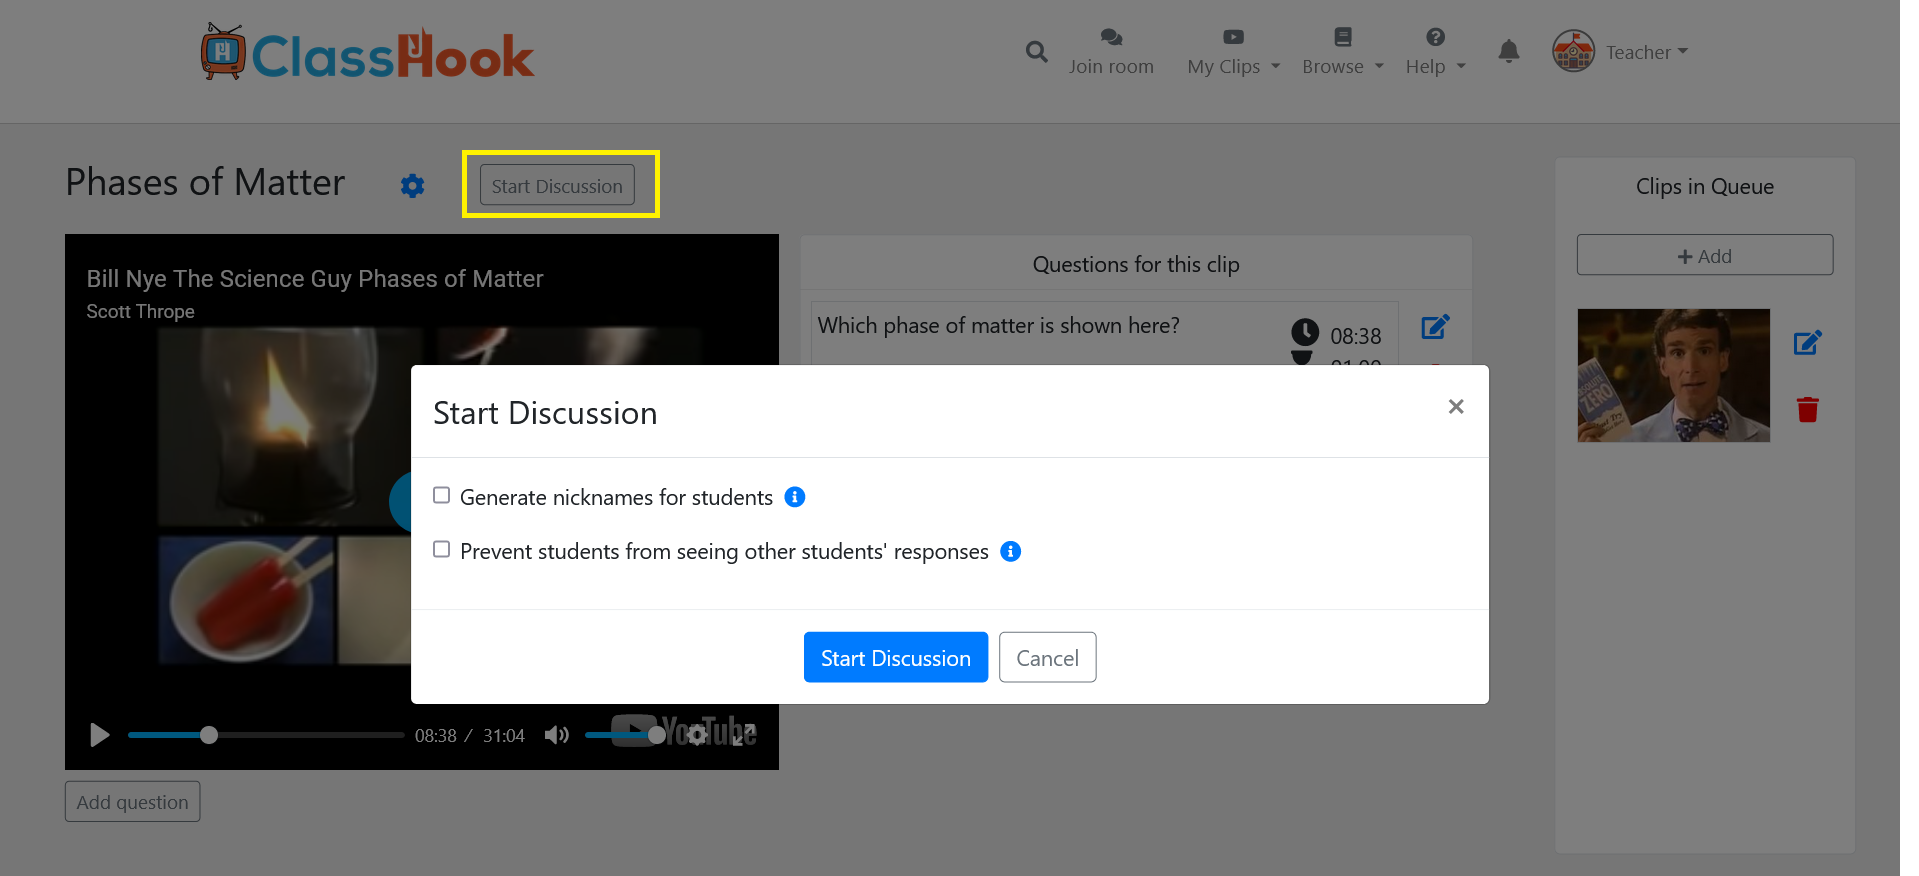
With your discussion all set, now you’re ready to get started! Click the Start Discussion button to make your discussion live. You can optionally prevent students from seeing other students’ responses or generate nicknames when students join the discussion. This is a great option if you feel that students may be a little mischievous with their names.
Step 7: Invite Students to Join
Once your discussion is live, you’ll see a room code at the top-left.
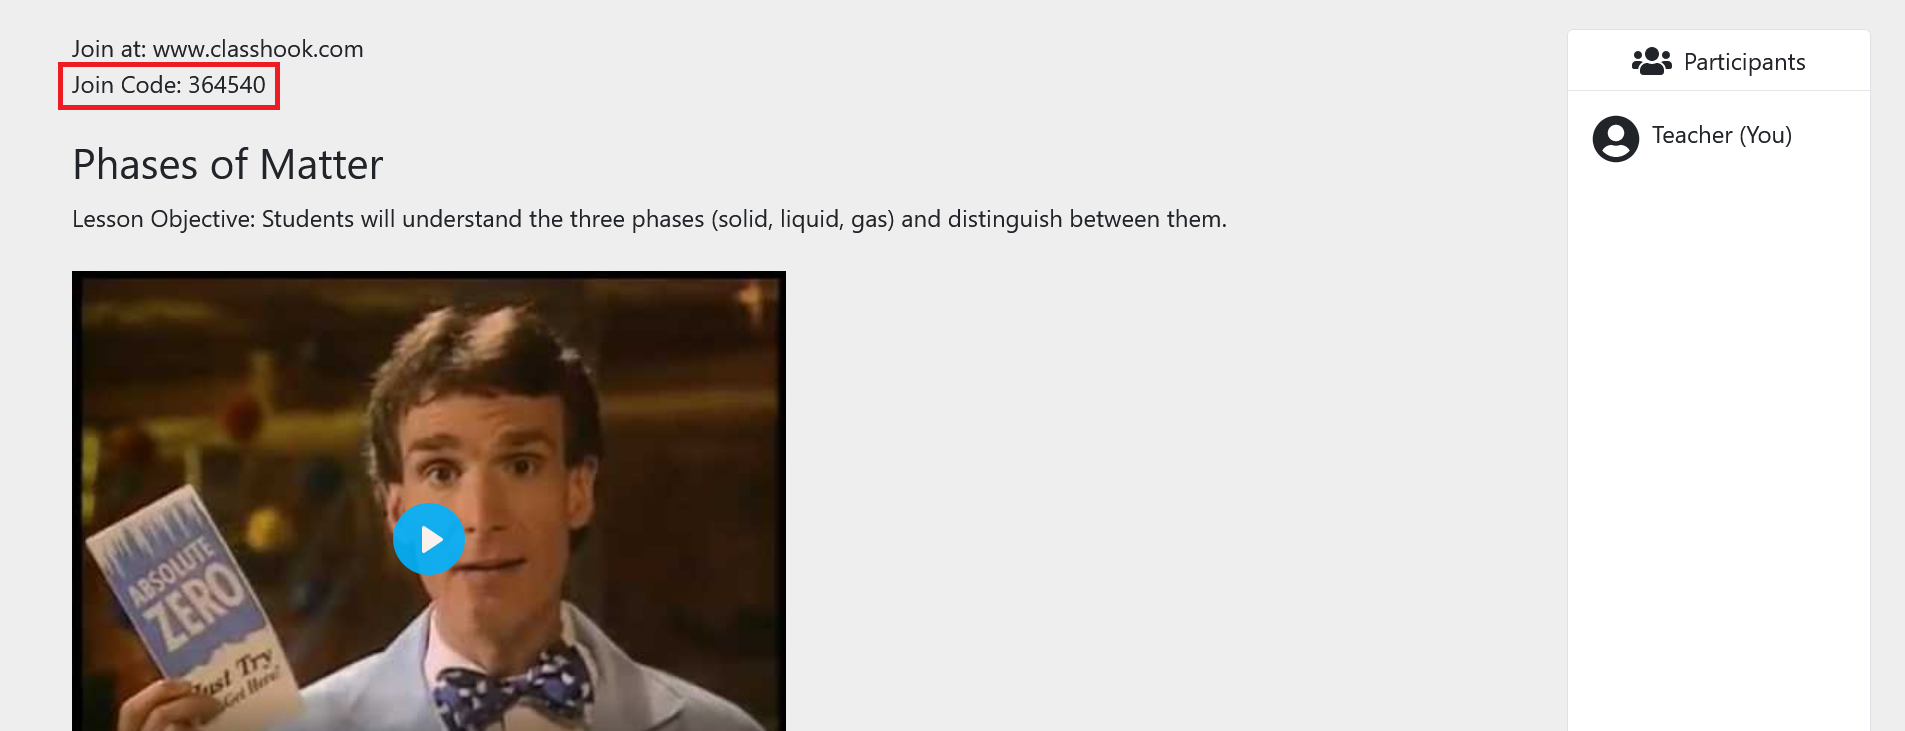
Provide this to your students. Students can enter this code at the top of https://www.classhook.com where it says Join Room.

As students join in, you’ll see them in the participants list.
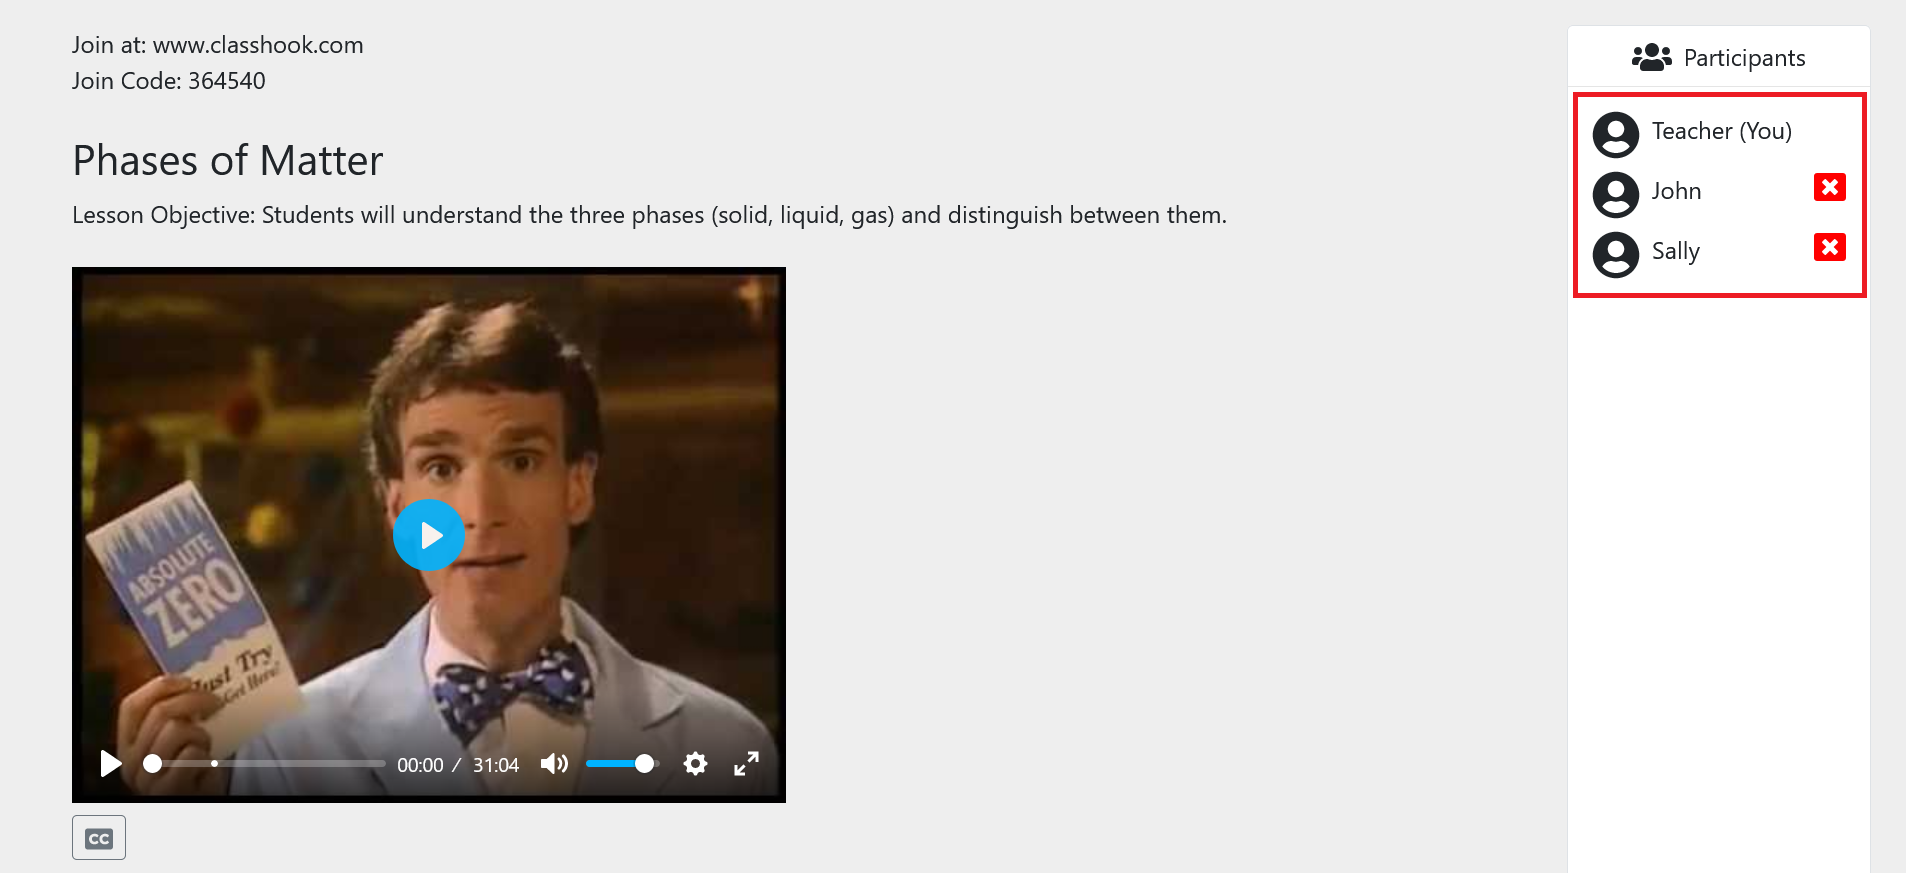
Hopefully you don’t have to use it, but you can click the X next to a student’s name to kick them from the discussion.
Step 8: Conduct the Discussion
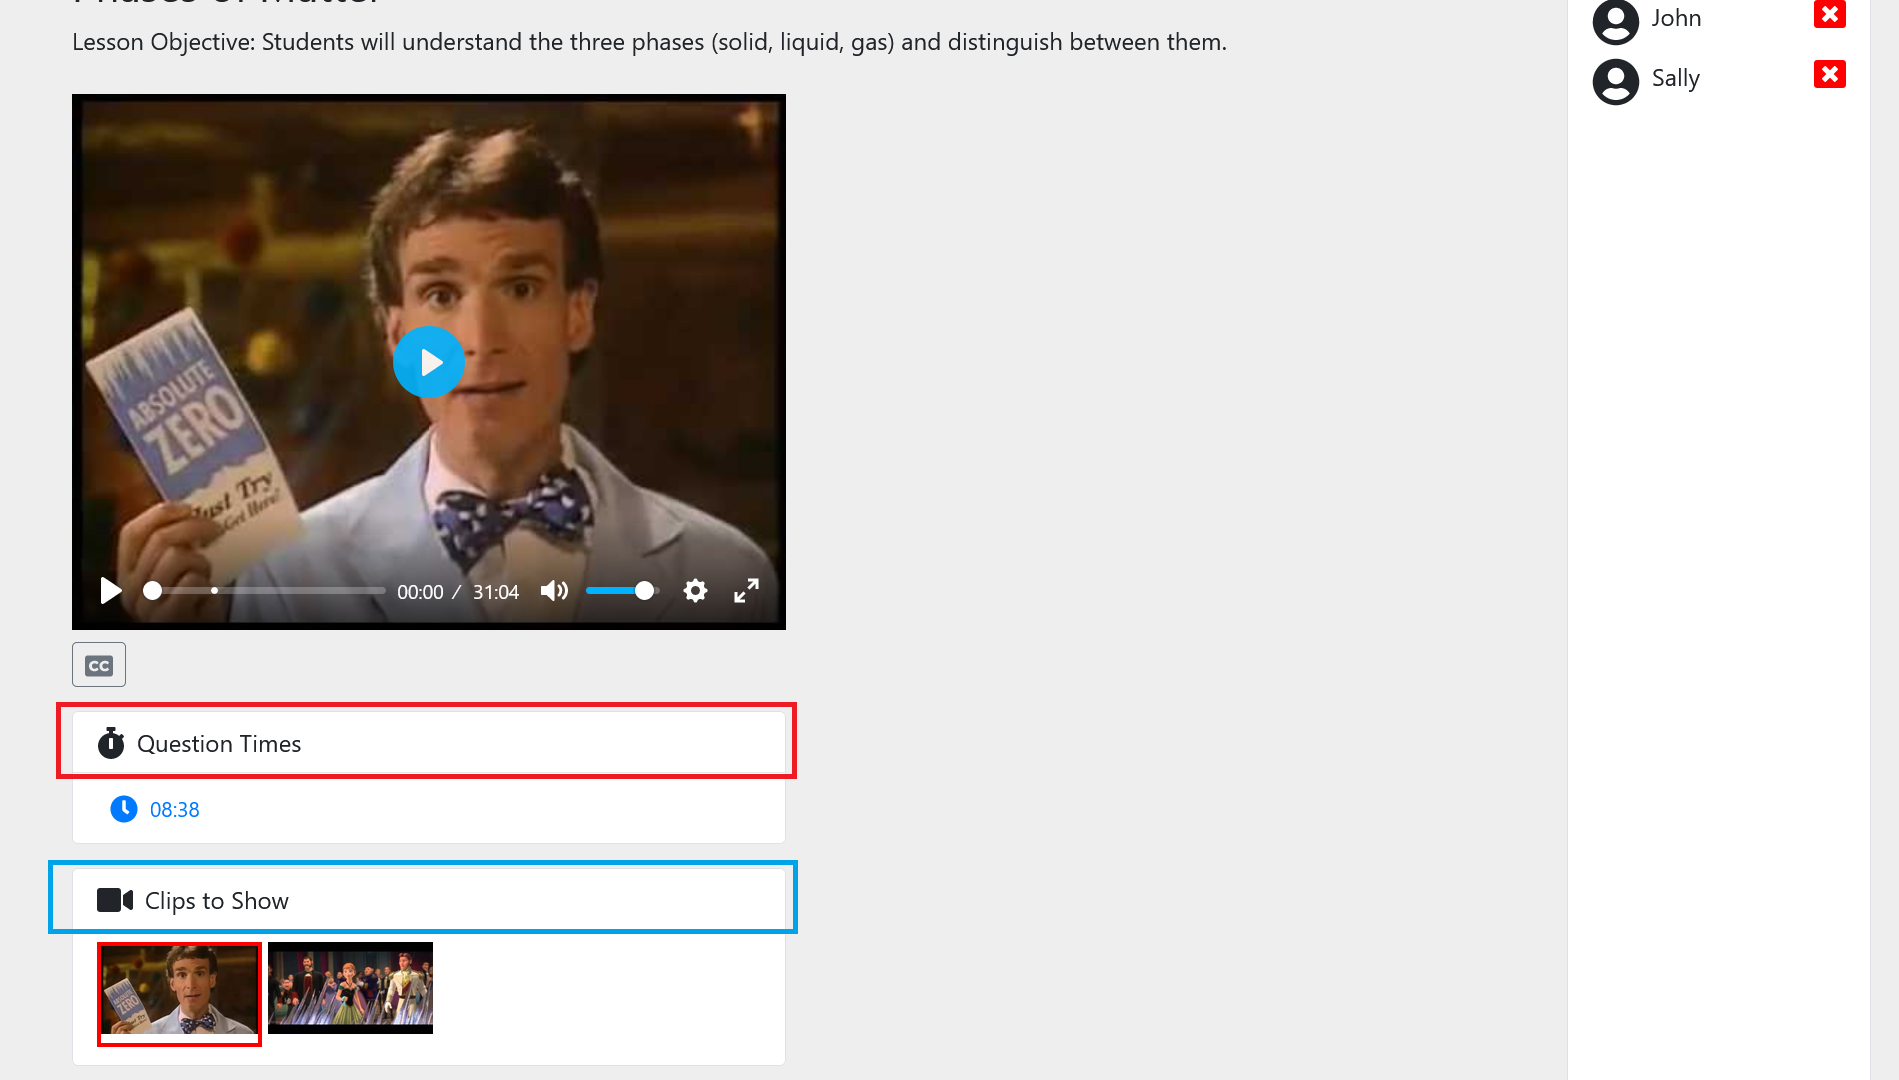
Once all of your students are in, you can play a clip by clicking on it in the Clips to Show section. At any time, you can click on a different clip to switch clips.
Under the video player, you’ll see the Question Times section, which tells you when the questions are coming up.
As you play the video, your questions will appear on screen. Students will see the question on their device and can respond. Their responses will come in in real-time and are hidden by default. You can click on Show responses to show all student responses.
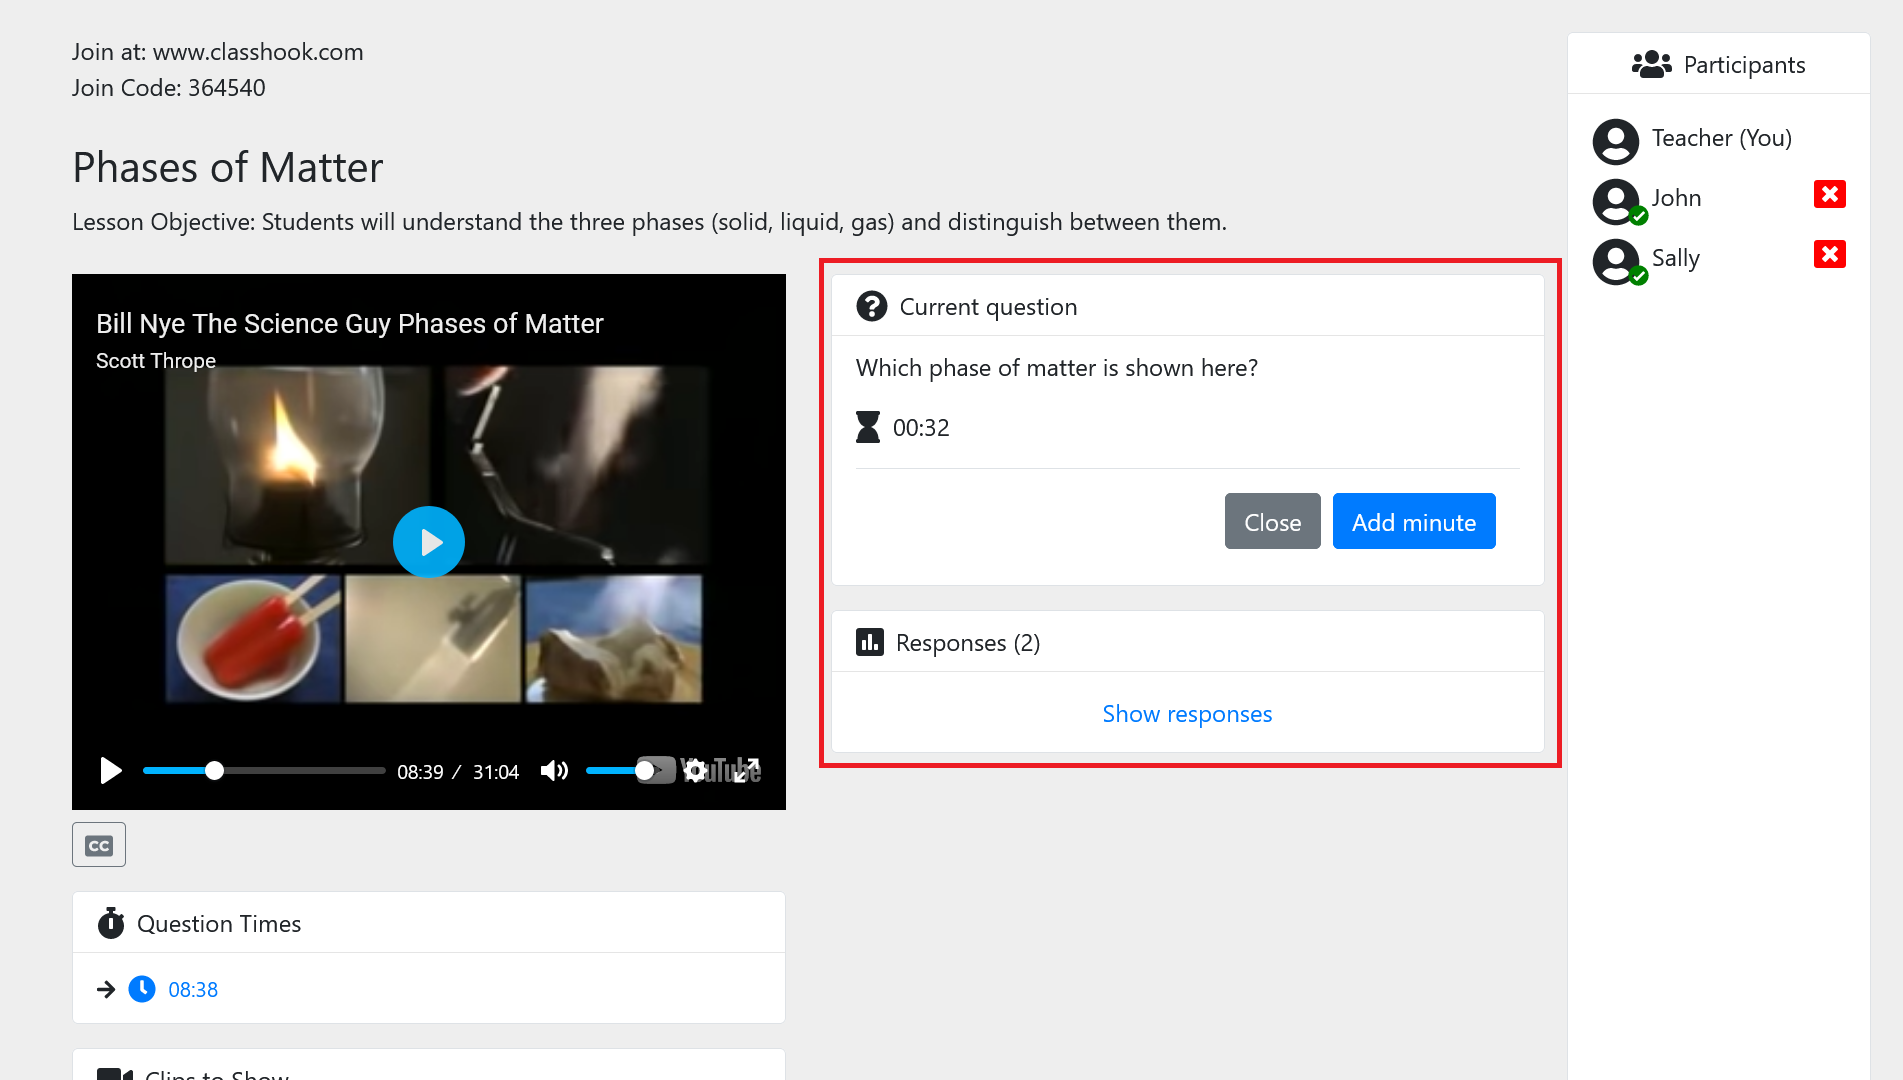
Students will have a green check mark next to their name after they’ve responded to the current question.
Conclusion
As we’ve just seen, live discussions are a convenient way to assess your students, check for understanding, and engage the entire class in a discussion. With live discussions, you can involve even the most hesitant students in the lesson by giving them a low-risk participation option. We’re excited to see how you use live discussions!
The Student Experience
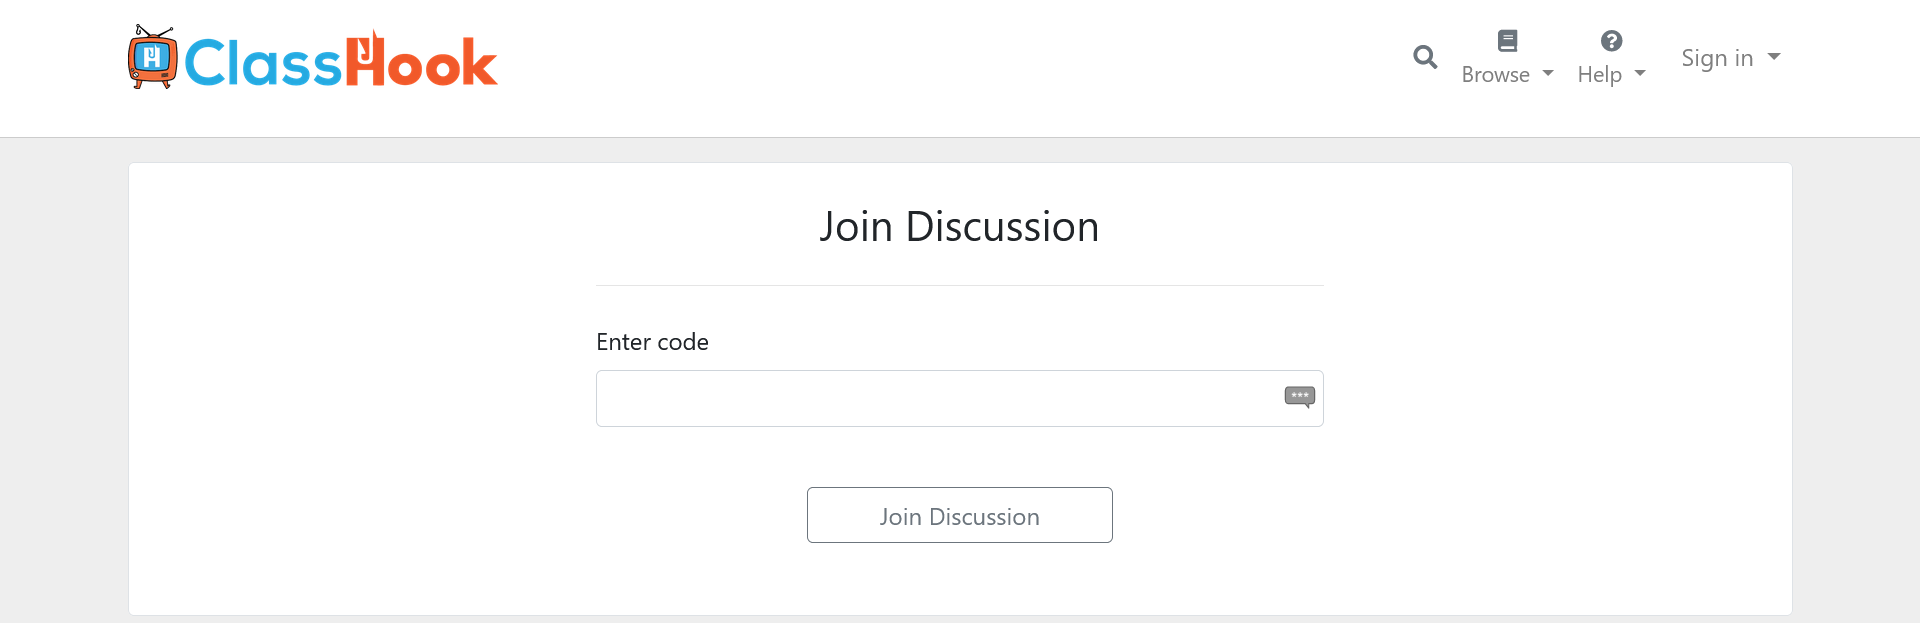
We know it’s helpful to know about the student experience as well, so we’ve outlined it below. Once your students have their room code, visit https://www.classhook.com, and click Join Room, they will see this page.
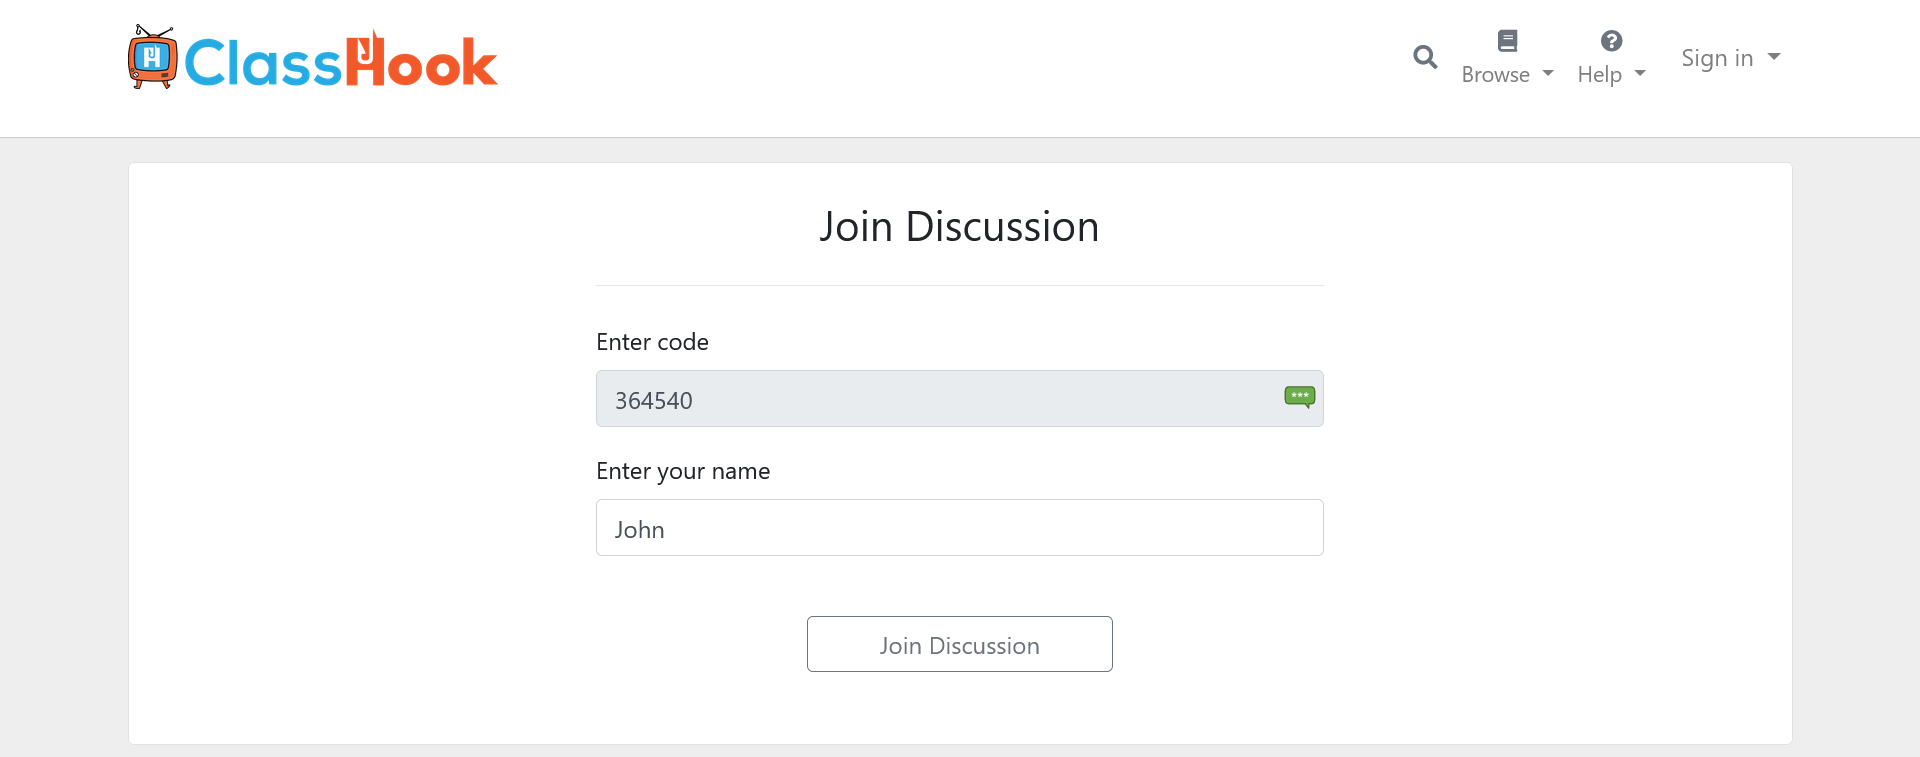
After entering the room code, students will be asked to enter their name.
Note: Students won’t be asked to enter their name if the discussion room uses automatically generated nicknames.
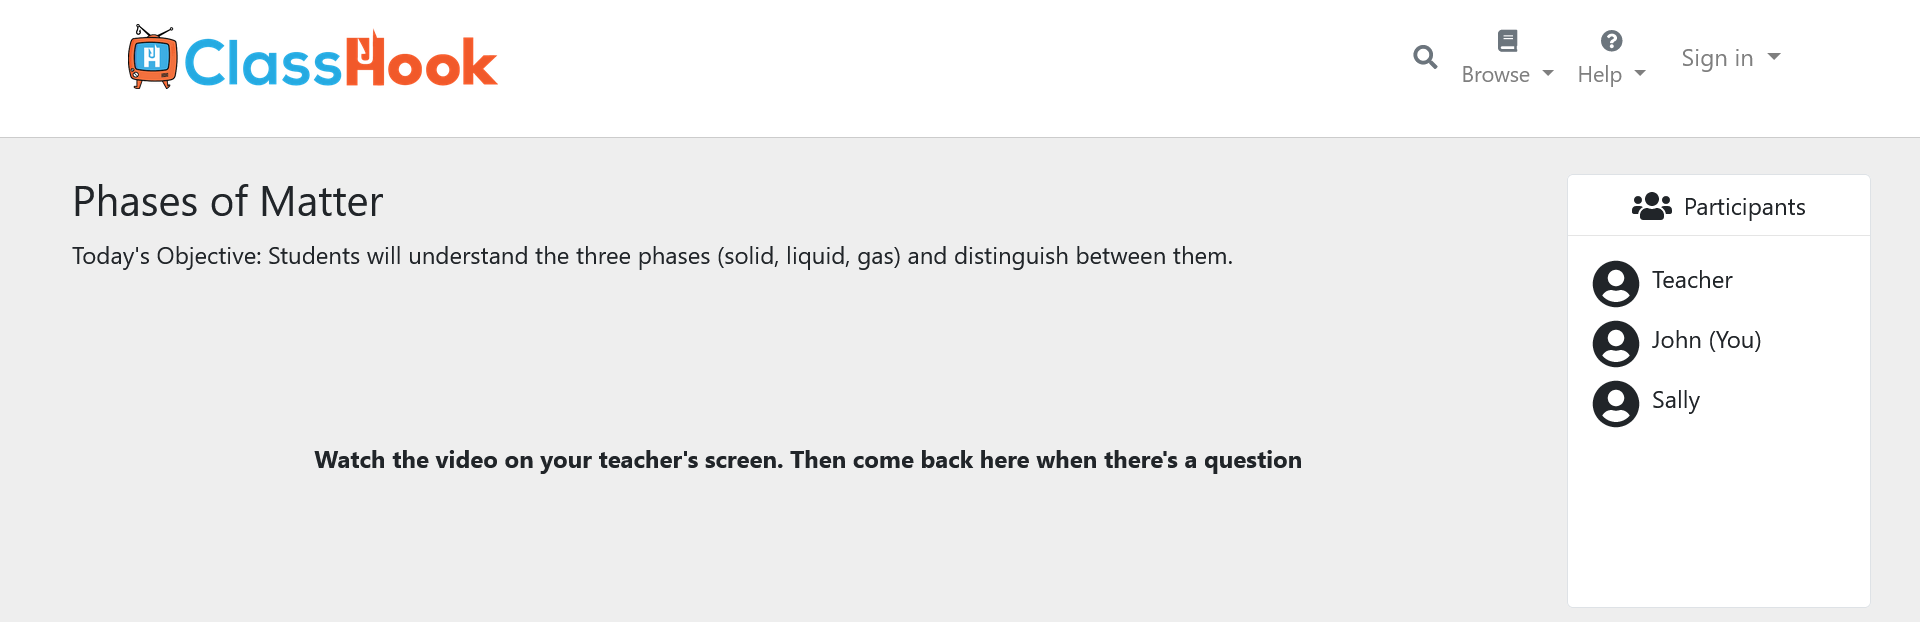
Once they click Join Discussion, students will enter the room. It’ll instruct them to wait for a question to appear on the screen.
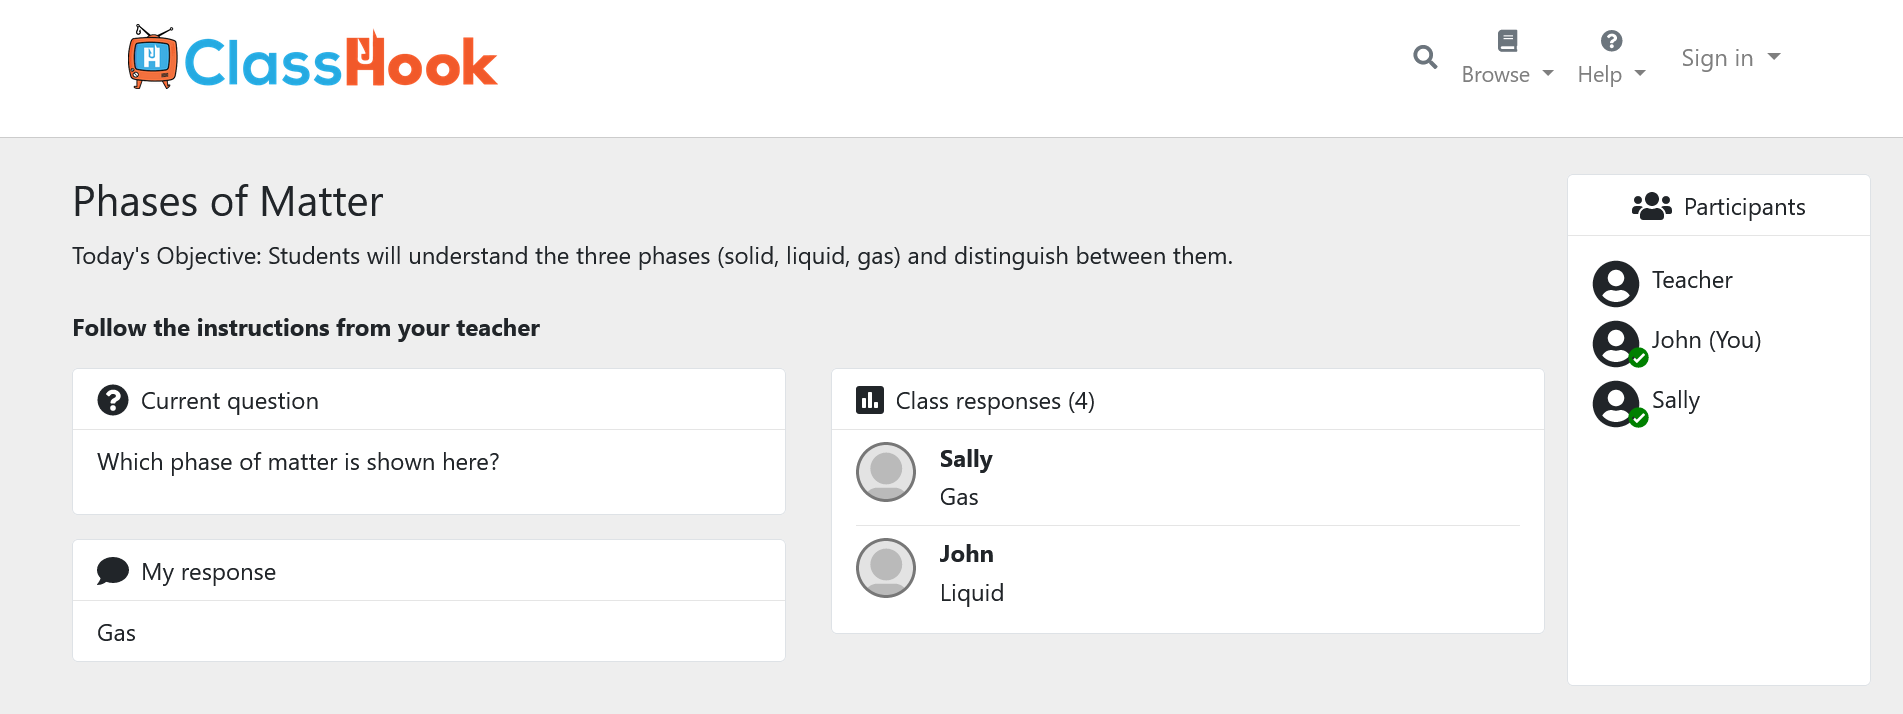
After a question is posed to the class, students can respond to it. Students won’t see any other responses until they answer themselves.

Once a student responds, they’ll see the rest of the class’ responses populate in real-time.
Note: Students will not see other students’ responses if the option is disabled in the discussion. In this situation, they will only see their own response.