How Can We Help?
How to Use Clip Comparisons
Introduction
ClassHook’s Clip Comparisons allow students to watch multiple clips about a topic to show different perspectives, angles, views, etc. Using our extensive media library to make clip comparisons, you can quickly and easily:
- Open up classroom discussions to analyze the pros and cons of each clip.
- Compare/Contrast the settings: What video does or does not include that lacks from the other, etc.
- Analyze the videos to understand the biases present in each.
And much more.
Clip comparisons streamline the process of performing comparisons with videos, making it easy to view the clips in succession rather than opening different tabs, windows, and presentation slides.
Video Tutorial
Step 1: Navigate to Clip Comparisons
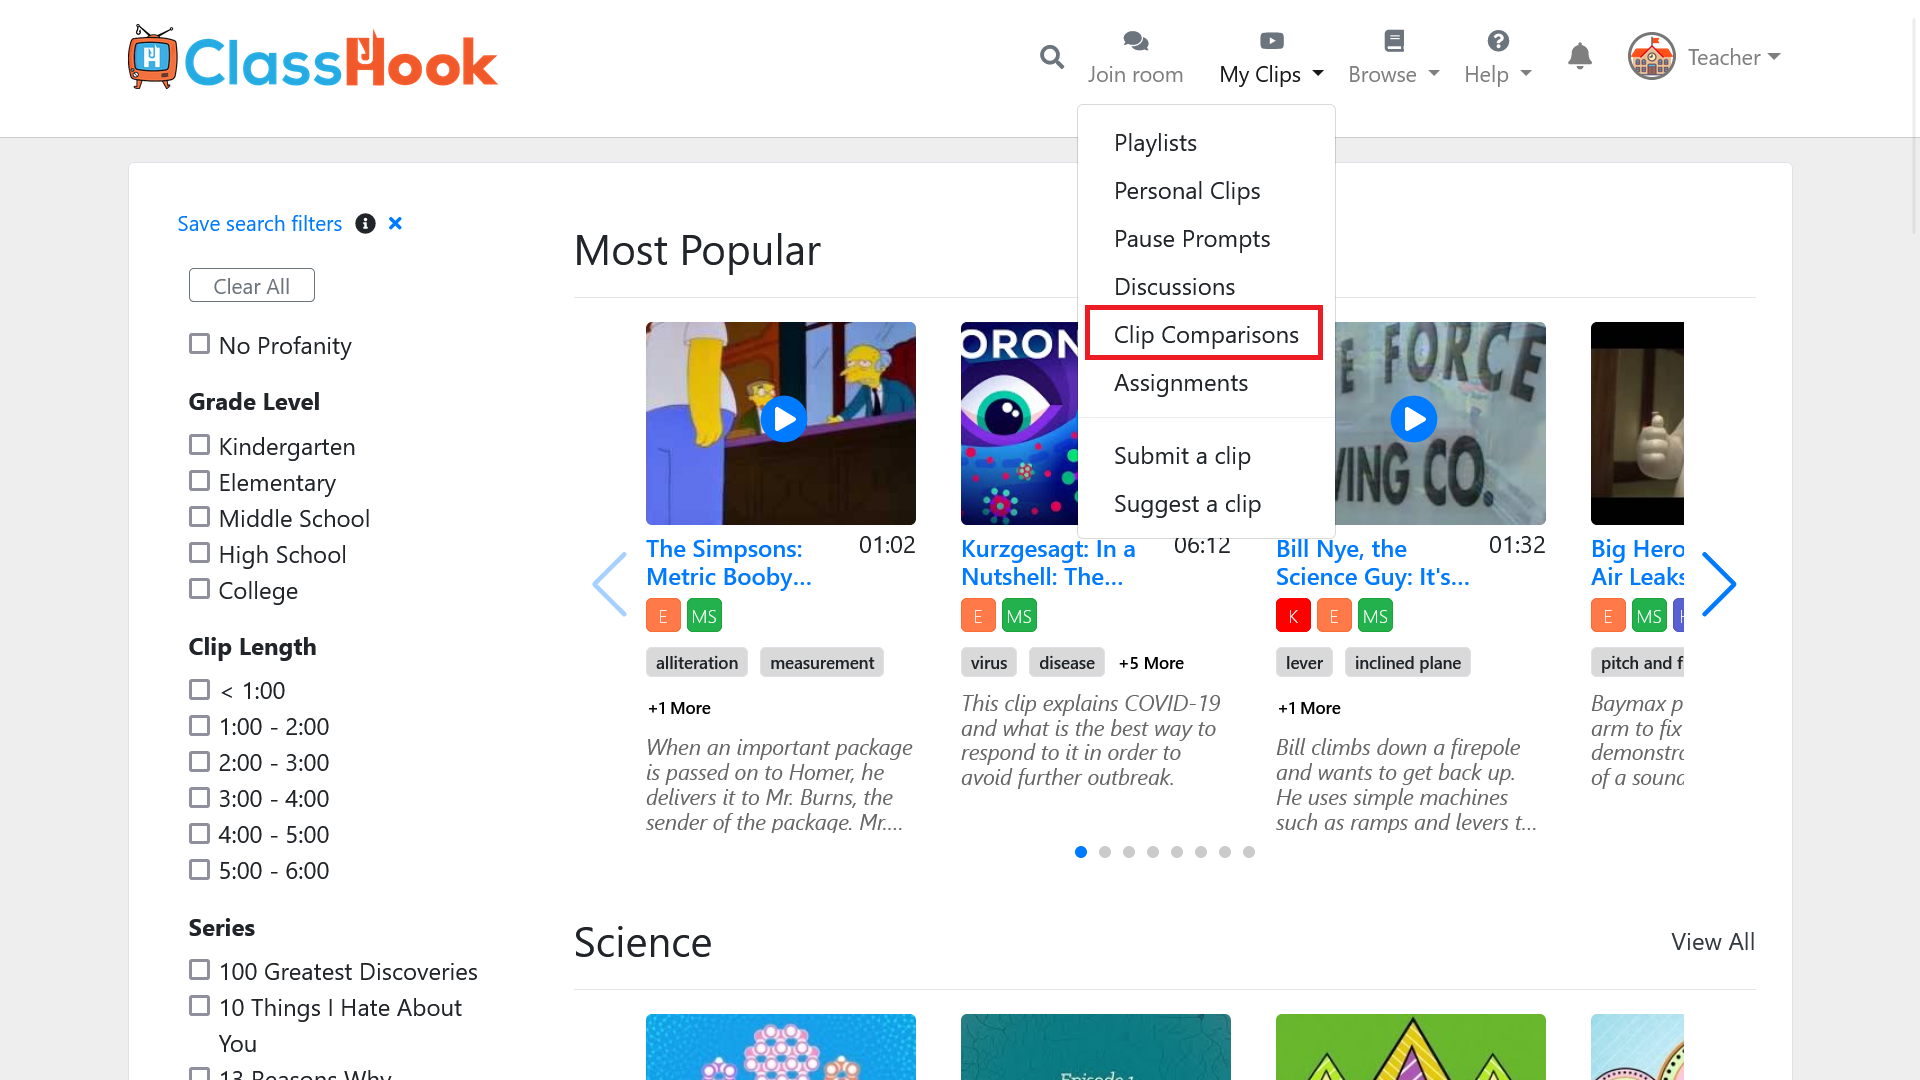
Log into your ClassHook account, and click on My Clips > Clip Comparisons in the upper navigation (or click here).
Step 2: Create a New Clip Comparison
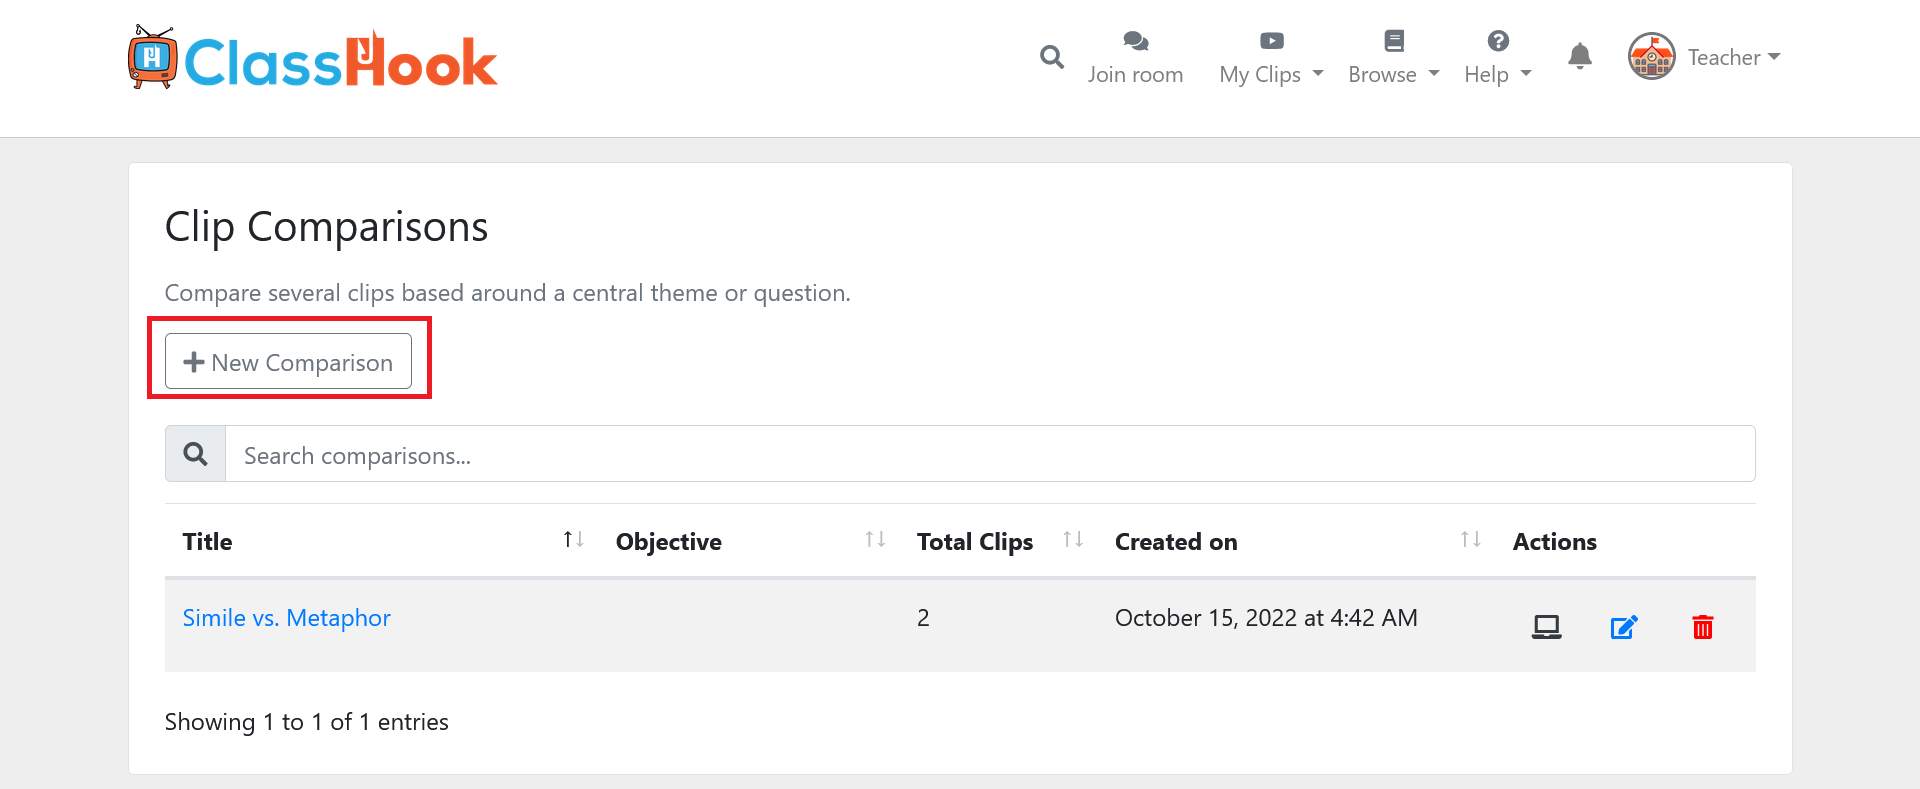
This page will allow you to view and manage all of your comparisons. Click the New Comparison button to add a new comparison.
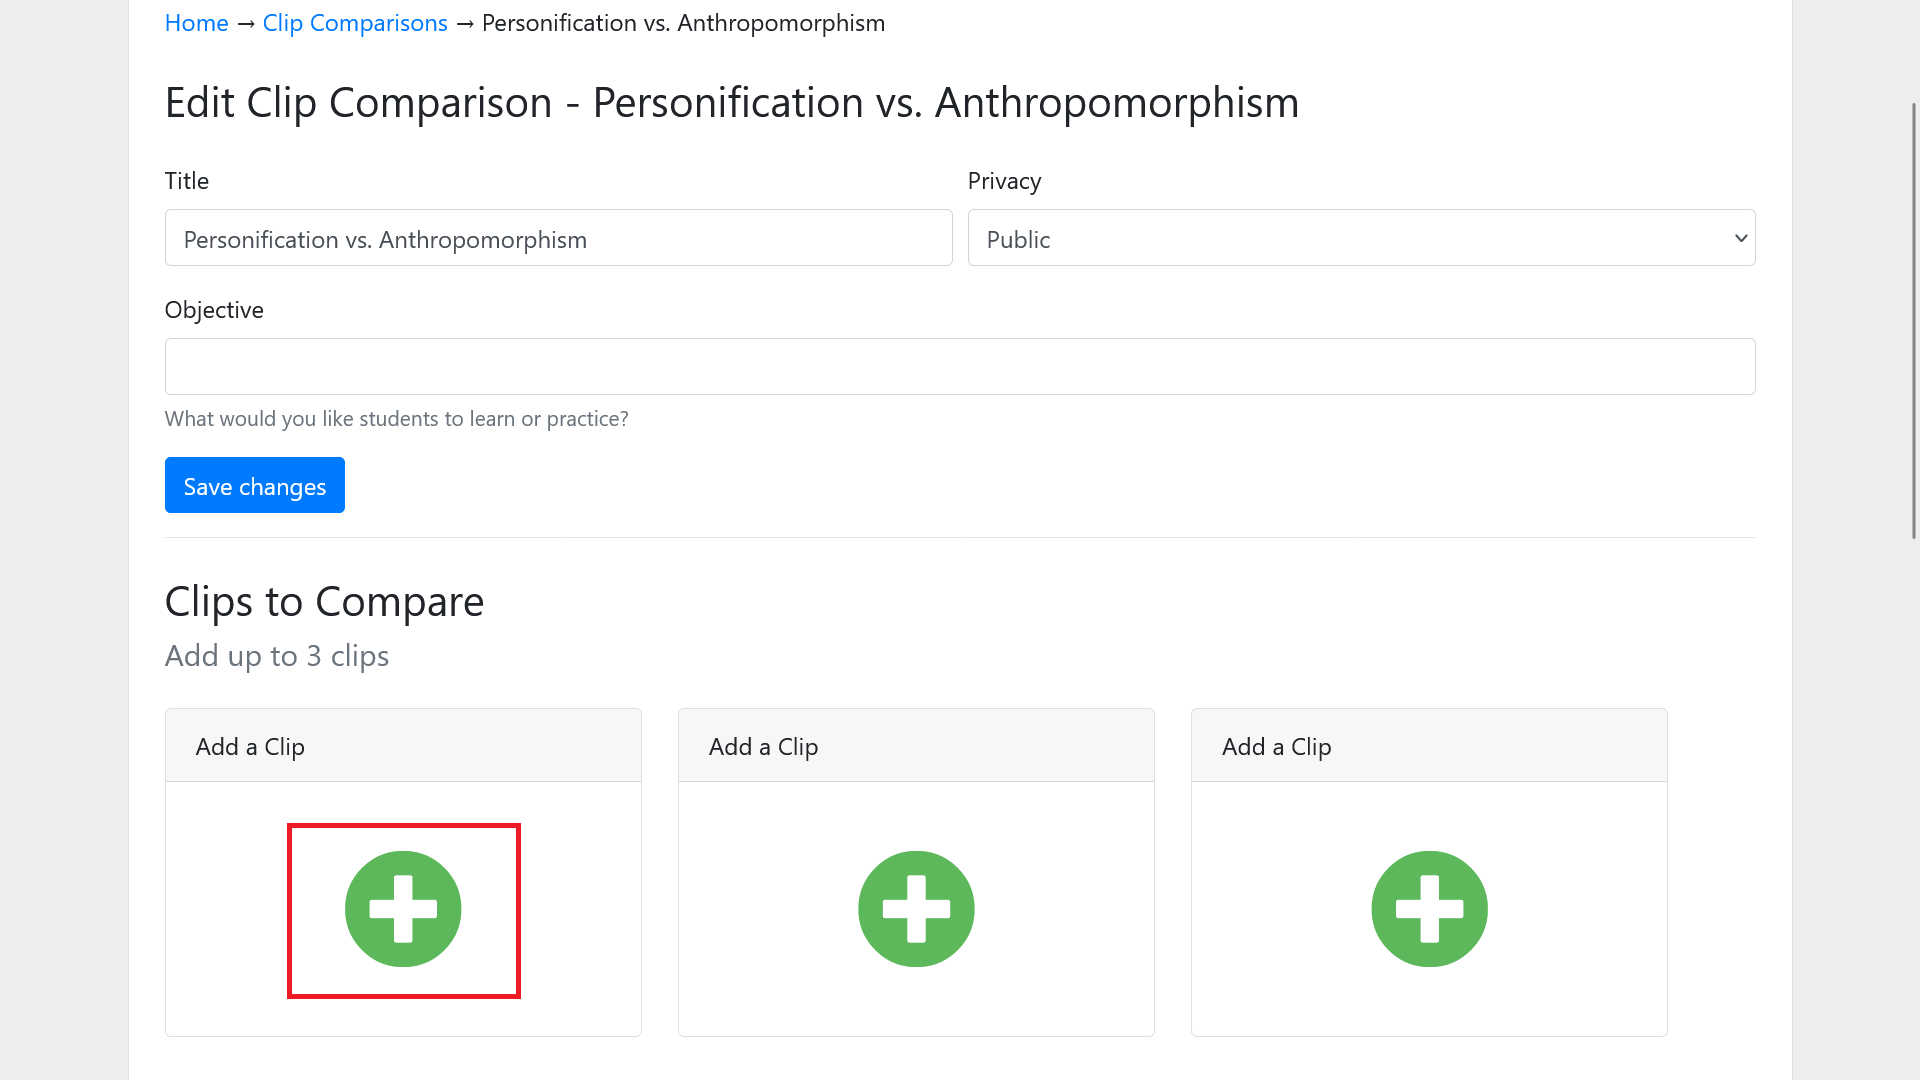
From here, you can name the Clip Comparisons, set the privacy settings to public or private viewing, and enter a lesson objective. Public view settings allow playlists of Clip Comparisons to be searchable by other ClassHook users and adds to the collective knowledge and resources.
When you’re ready to create your comparison, click Submit.

Step 3: Add Clips to Compare
From here, you can add up to three clips for comparison. Click the large + button to add a clip. This will show a popup.
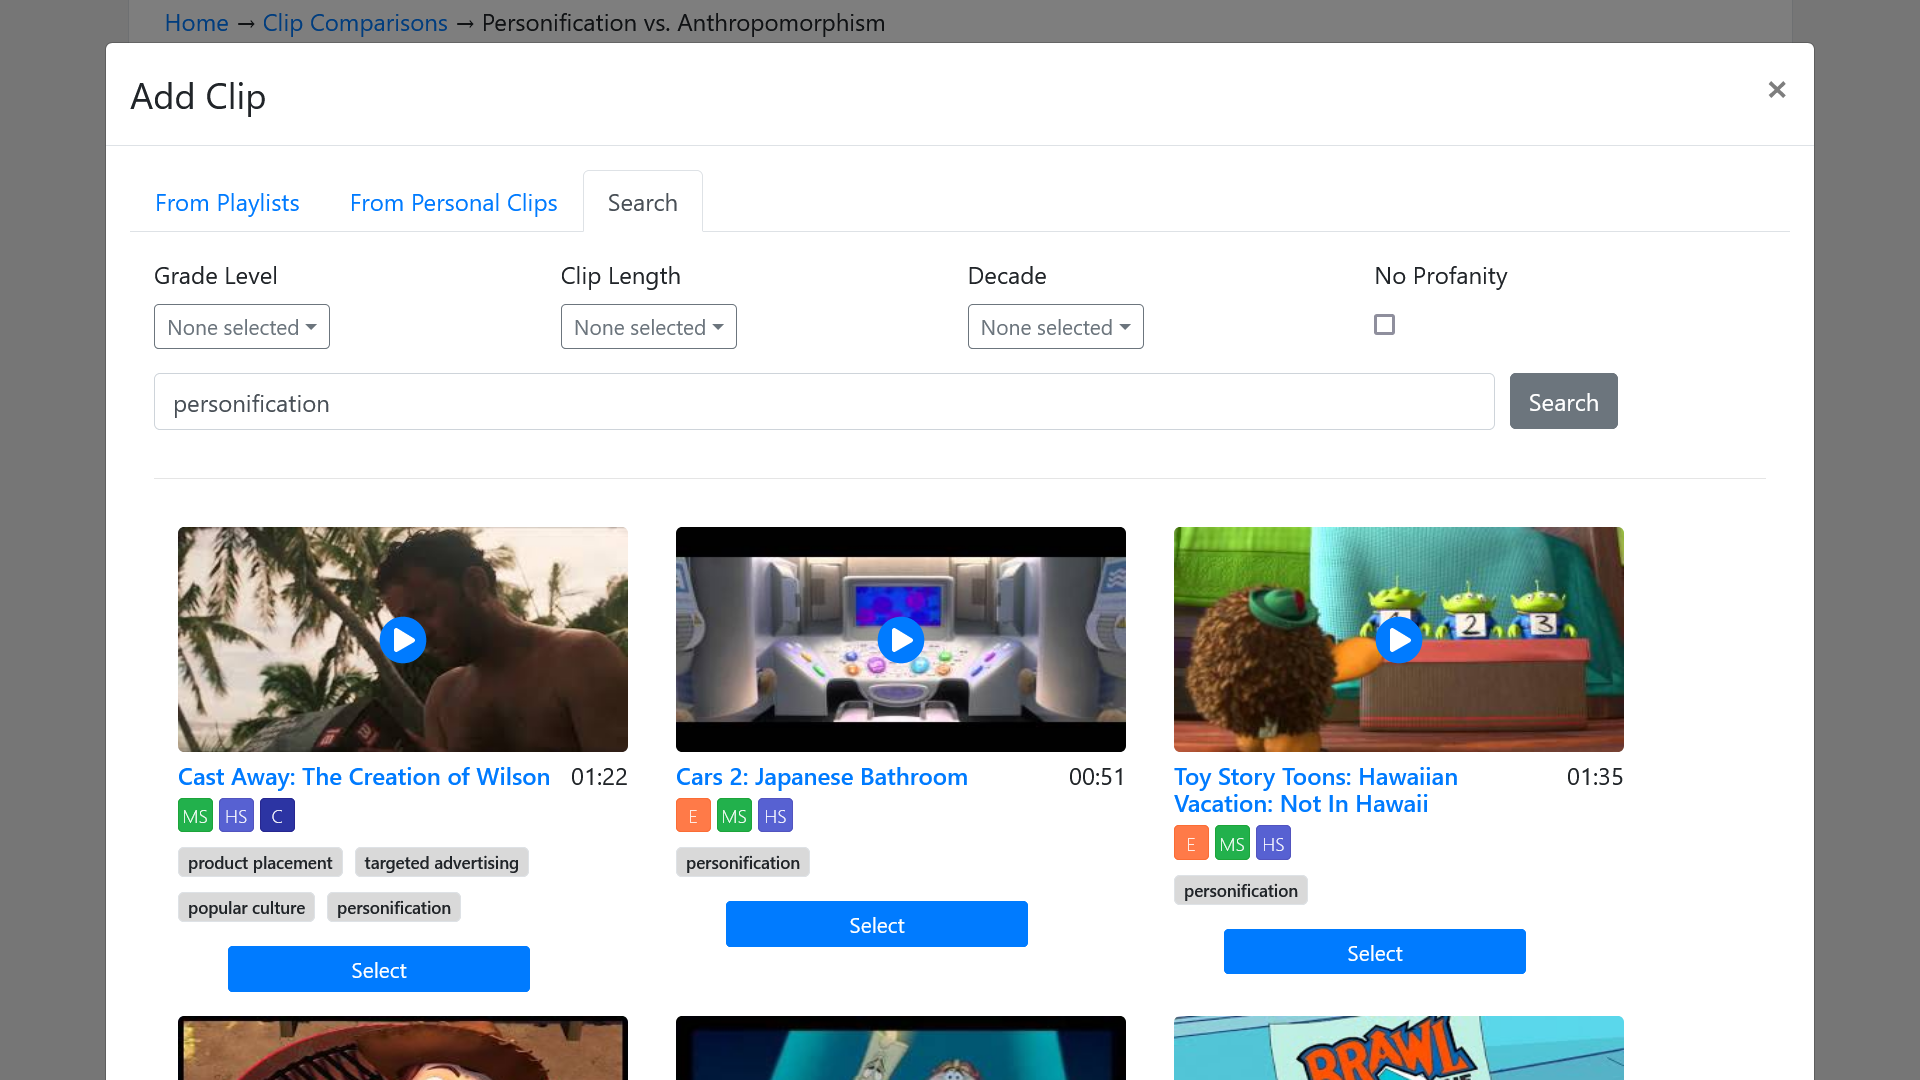
You can select clips from your playlists and personal clips, or you can search ClassHook for a video. If searching, enter your search term, specify filters, and click Search. When you’re ready to select a clip, click the Select button under the clip. Repeat this step for all of the clips you want to add to the comparison.
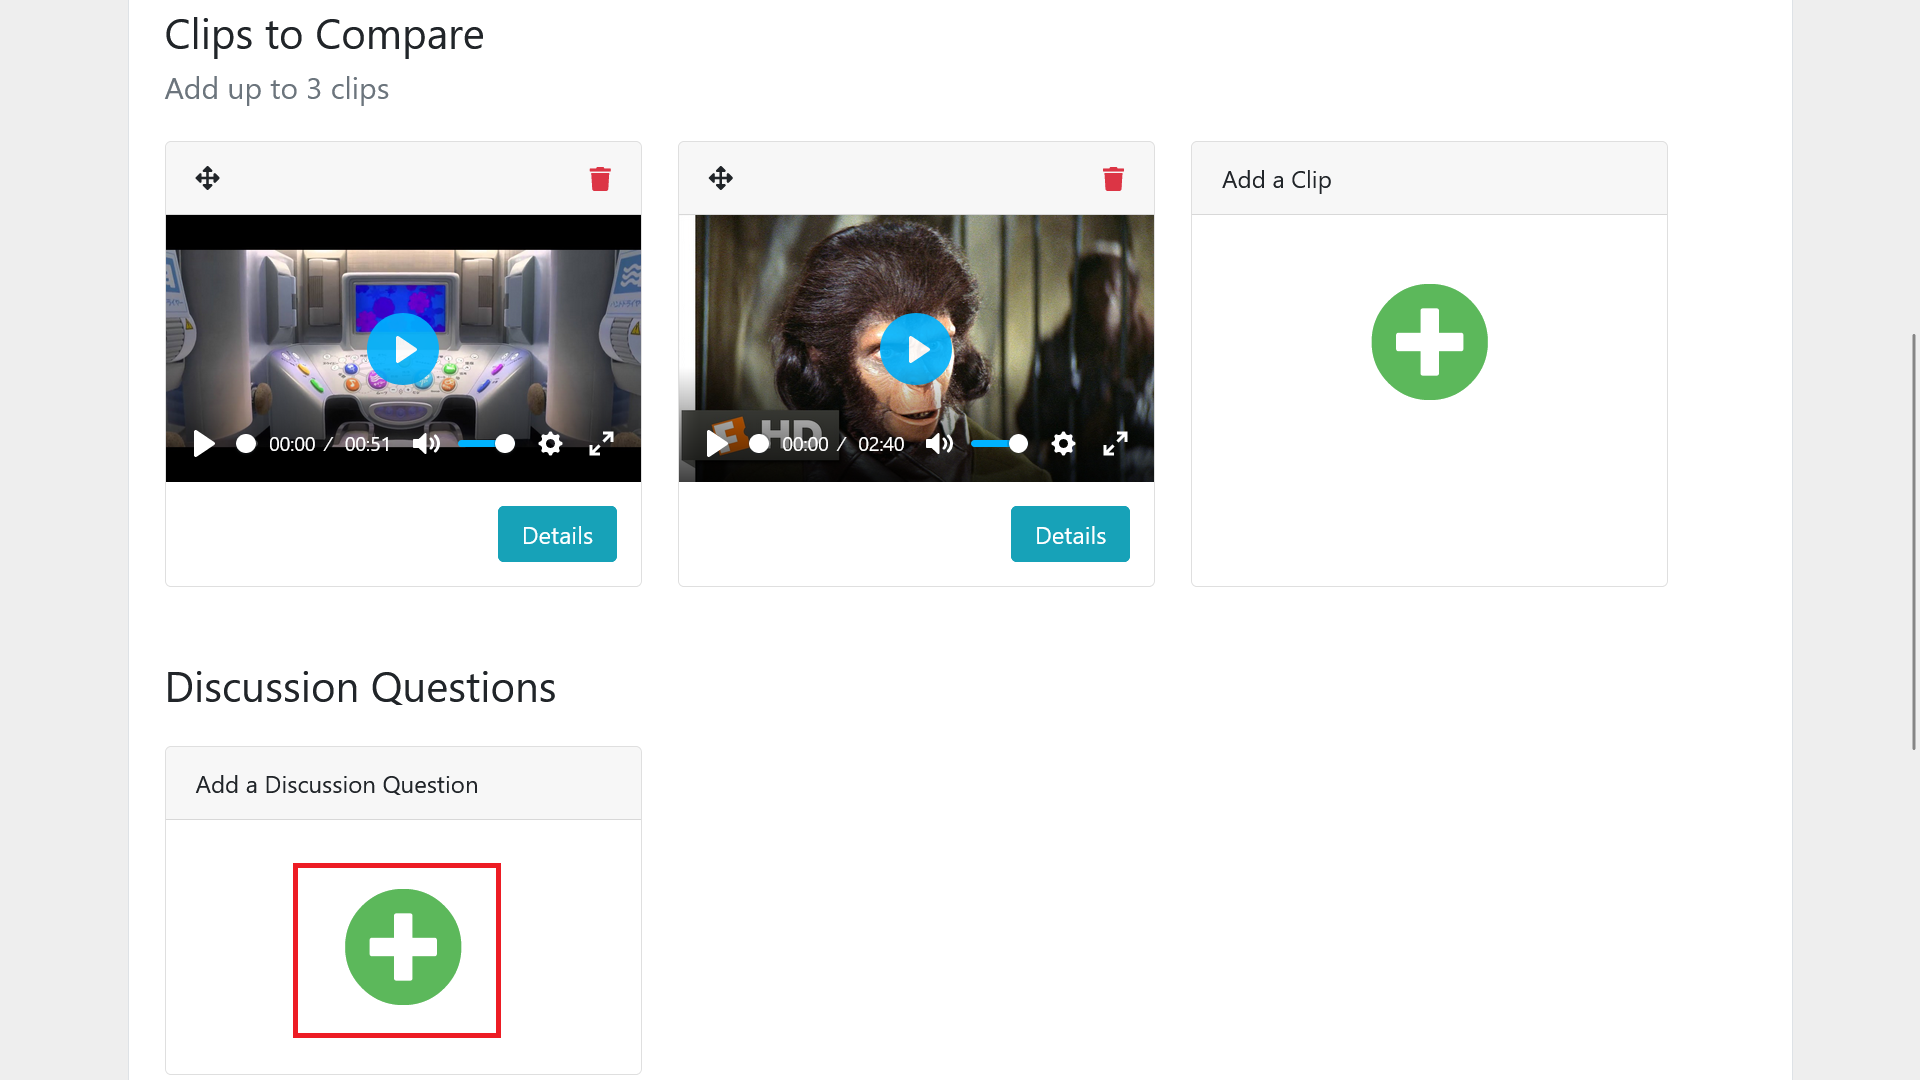
Step 4: Add Discussion Questions
You also have the option to add discussion questions to your comparison by clicking the + button under the Discussion Questions section below the clips. You may add as many discussion questions as you’d like.
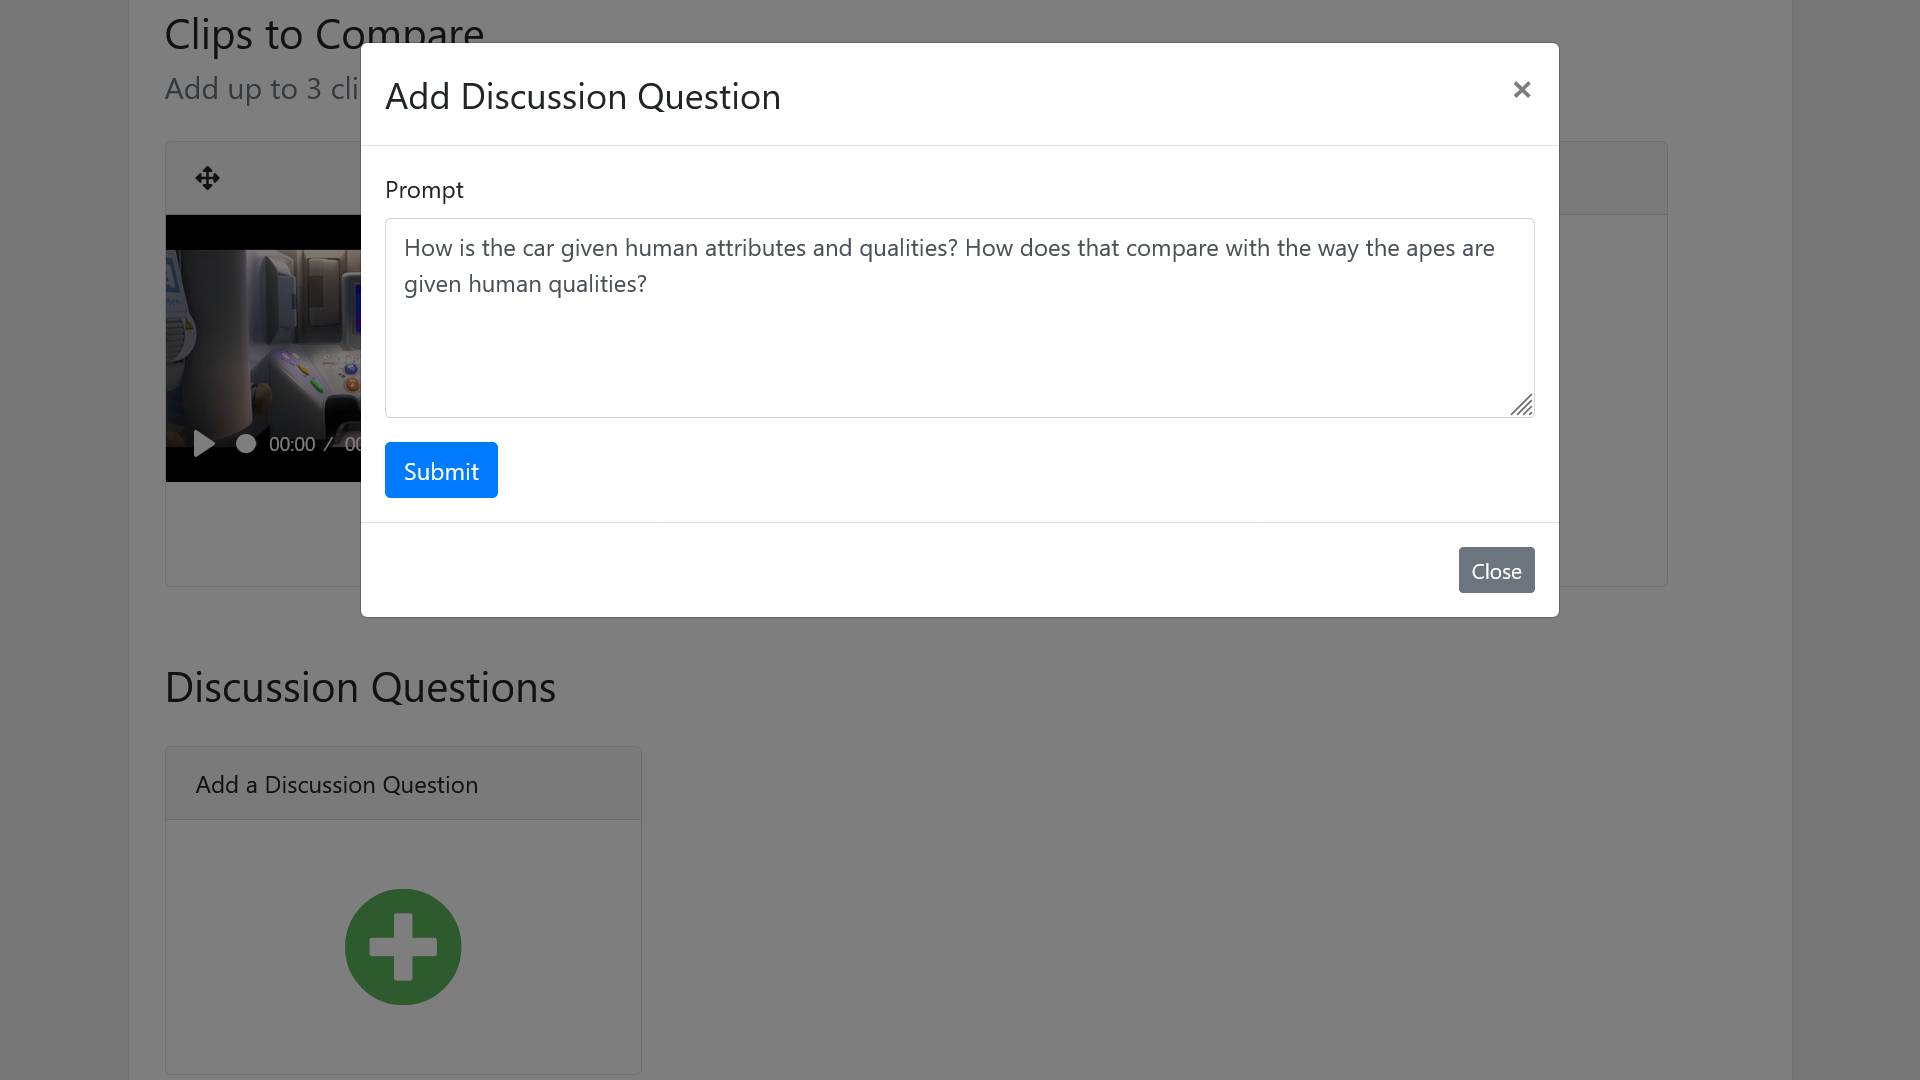
When adding your discussion question, type out your question then click Submit to add it.
Step 5: All done!
Congrats! Your clip comparison is saved and ready for the classroom!
Using Your Clip Comparison in Class
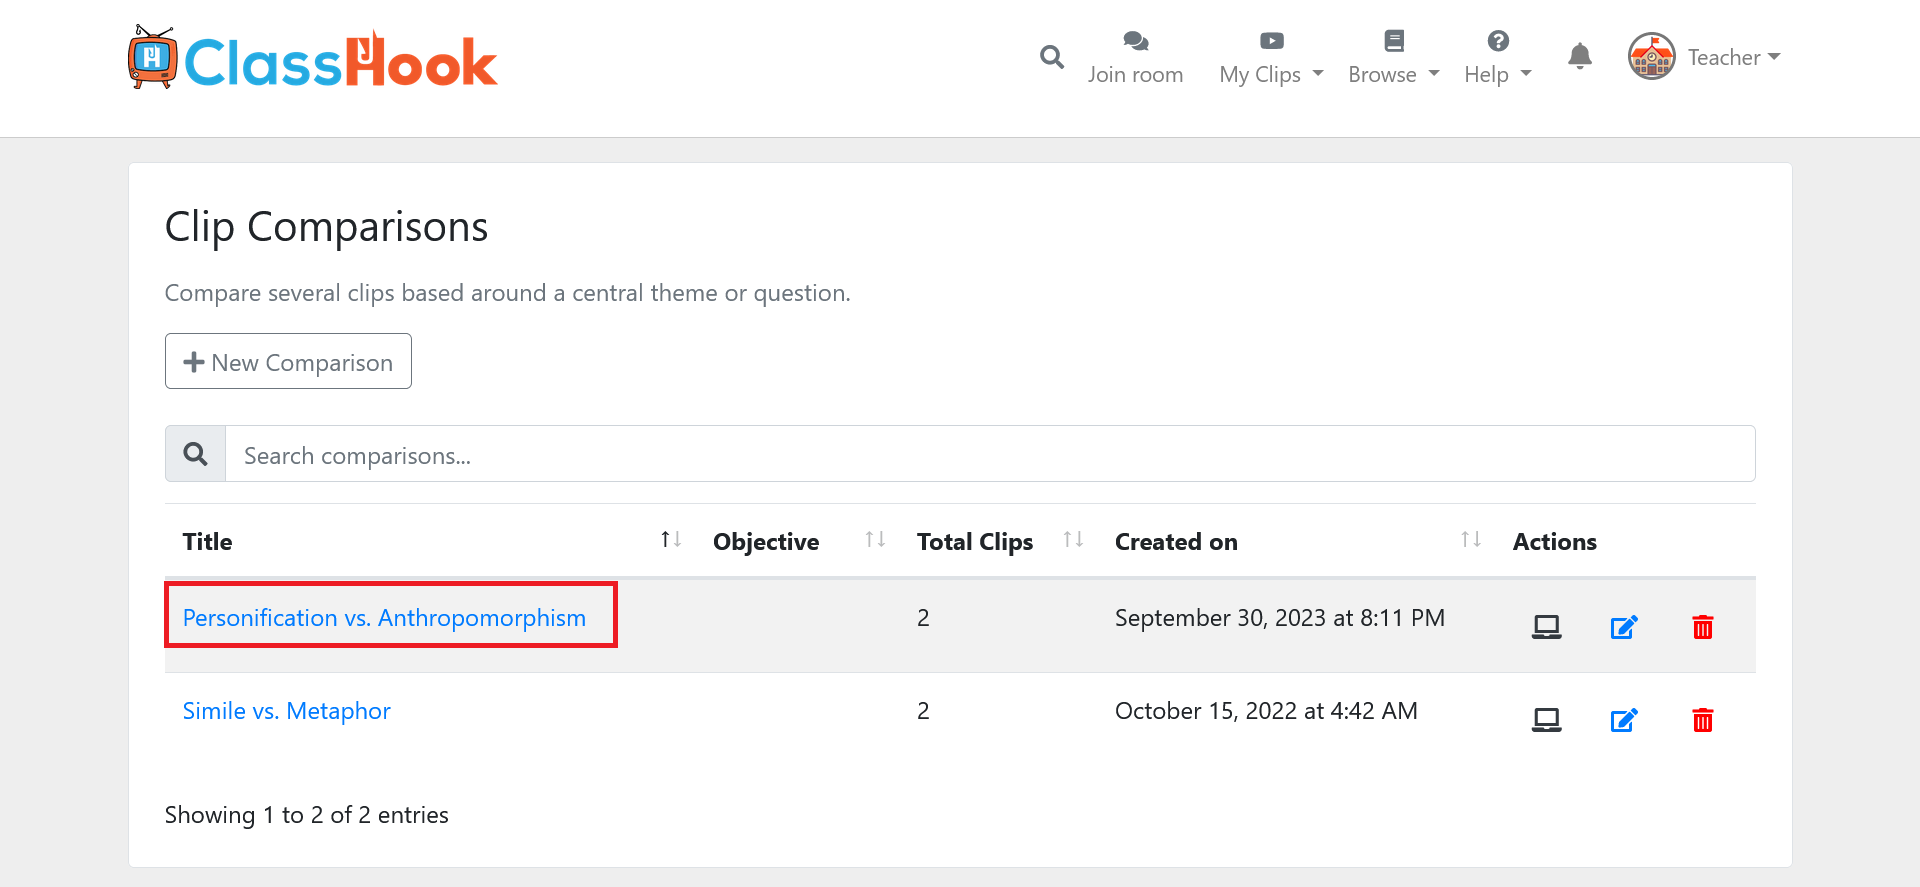
After you’ve saved your clip comparison, return back to your list of comparisons by clicking My Clips > Clip Comparisons in the upper navigation (or click here).
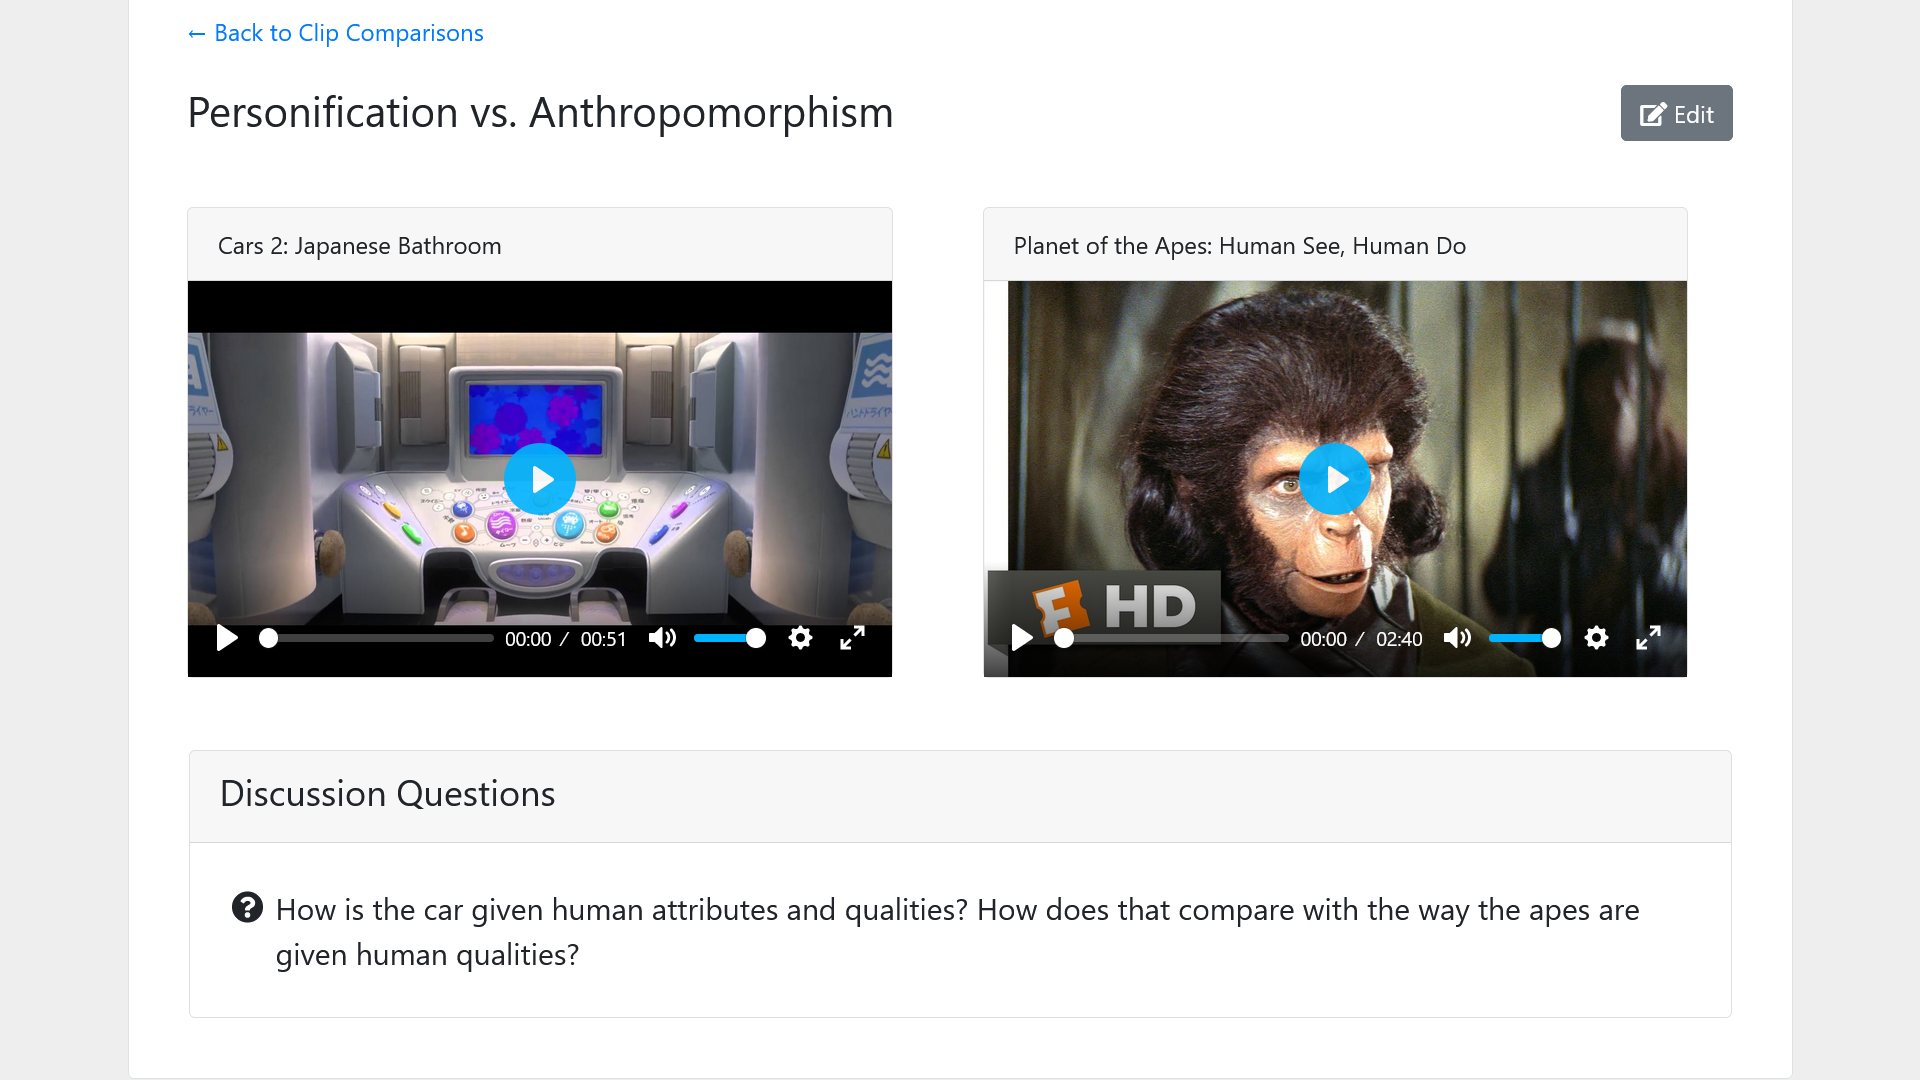
Click on the comparison’s name to show it in presentation mode for your class. If you’d like to assign the comparison to students, you can do so through the actions menu on the right side.
You’re ready to go!
Now you can show the comparison to your classroom on a projector or through a video call, whether you’re remote or in person. You can easily show each clip in full screen without switching to different browser tabs and PowerPoint slides. The comparison is all set up for you in one place.
As we’ve just seen, clip comparisons are a convenient way to assess your students, check for understanding, and engage the entire class in a discussion. With clip comparisons, you can involve even the more hesitant students in the lesson with a low-risk participation option.