How Can We Help?
How to Organize Clips on ClassHook
Video Tutorial
Playlists
Playlists are collections of clips that you can organize by subject or grade, and they can be played back at any time!
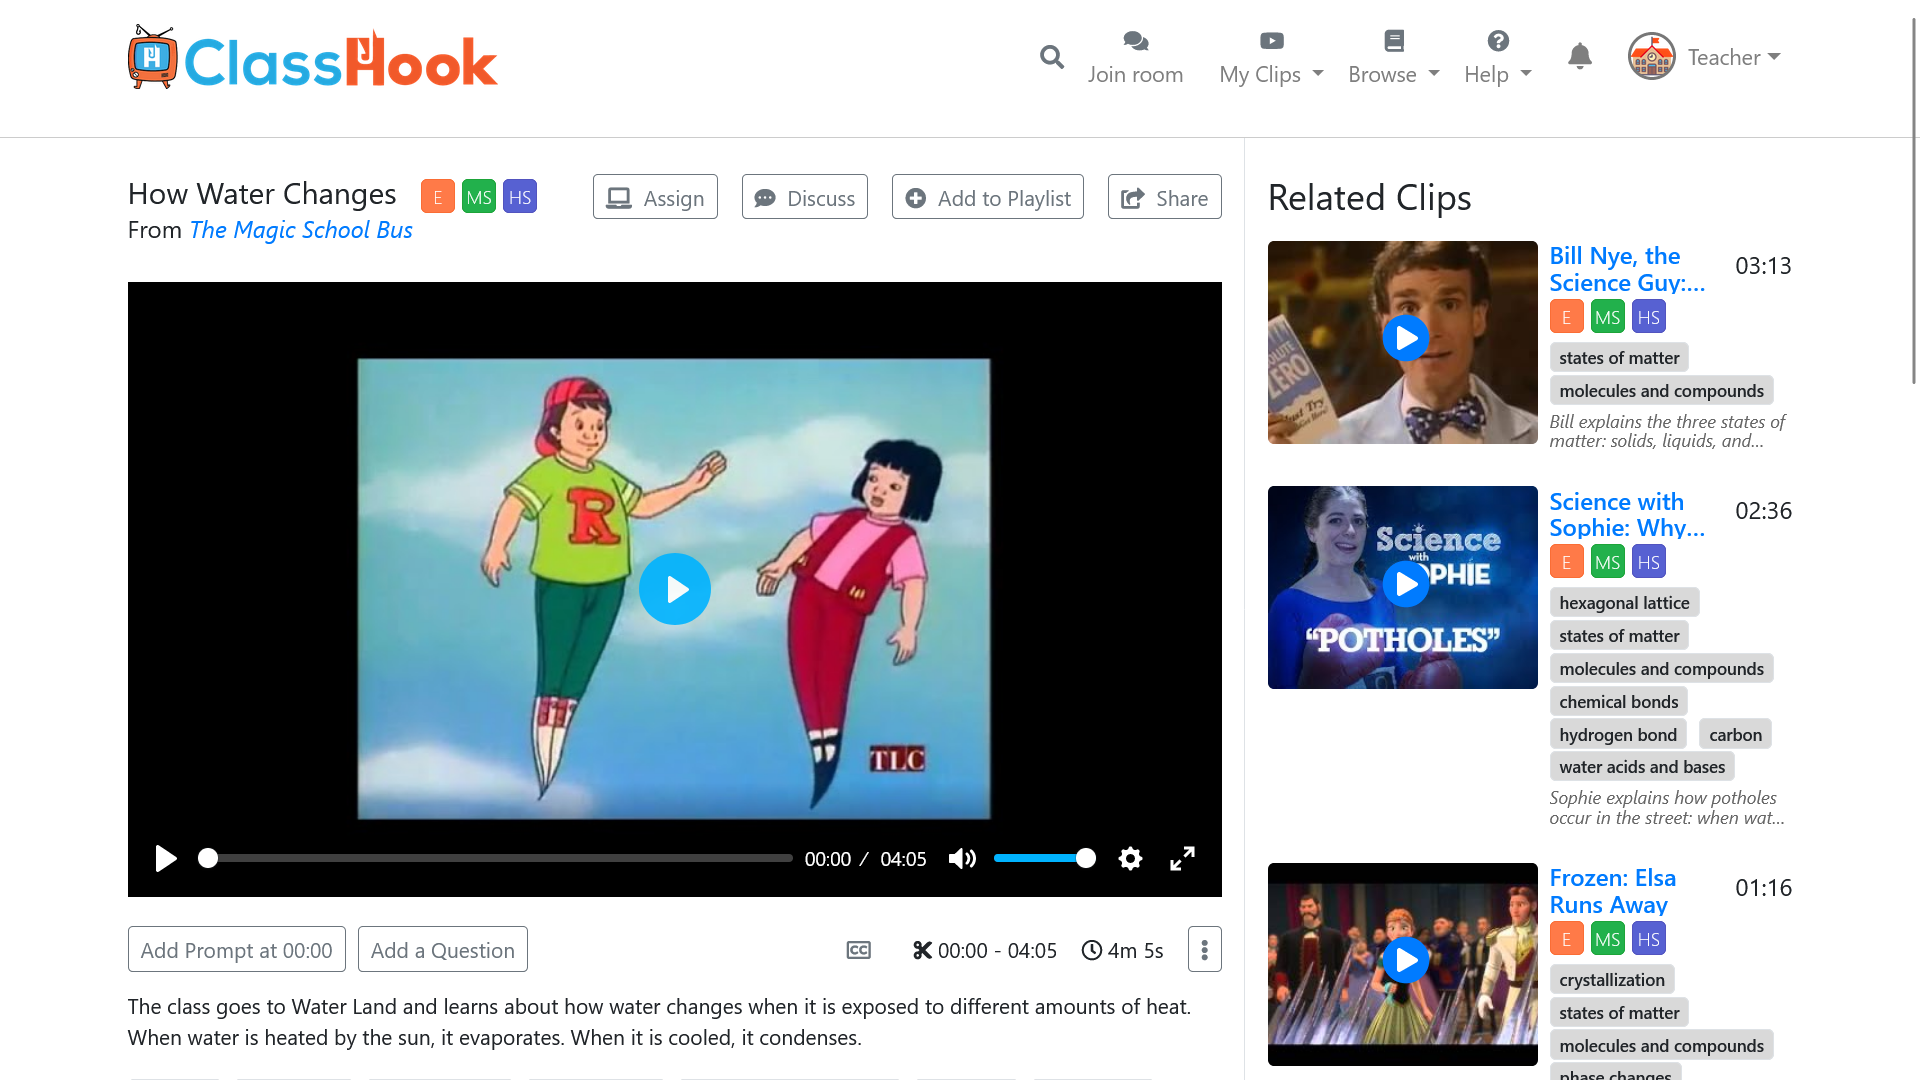
Step 1: Find a clip on ClassHook
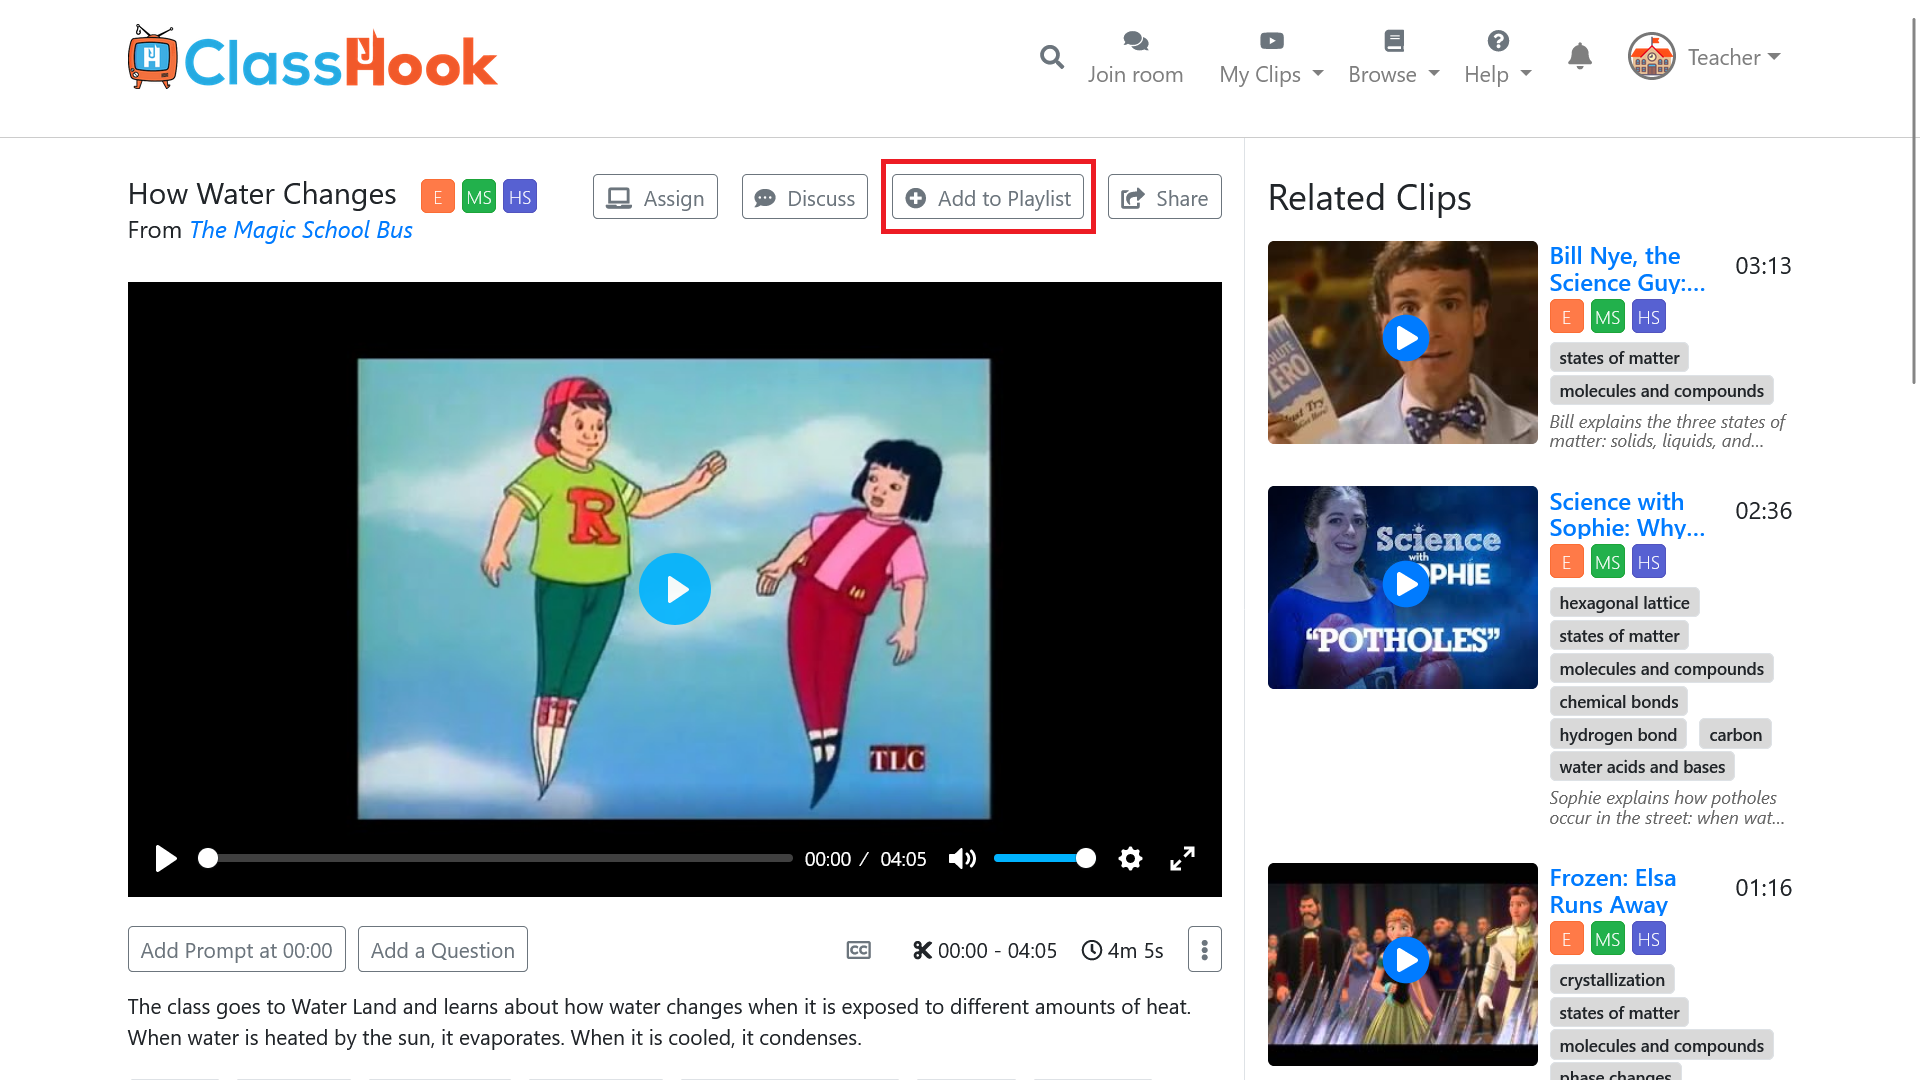
Step 2: Click the Add to Playlist button above the clip
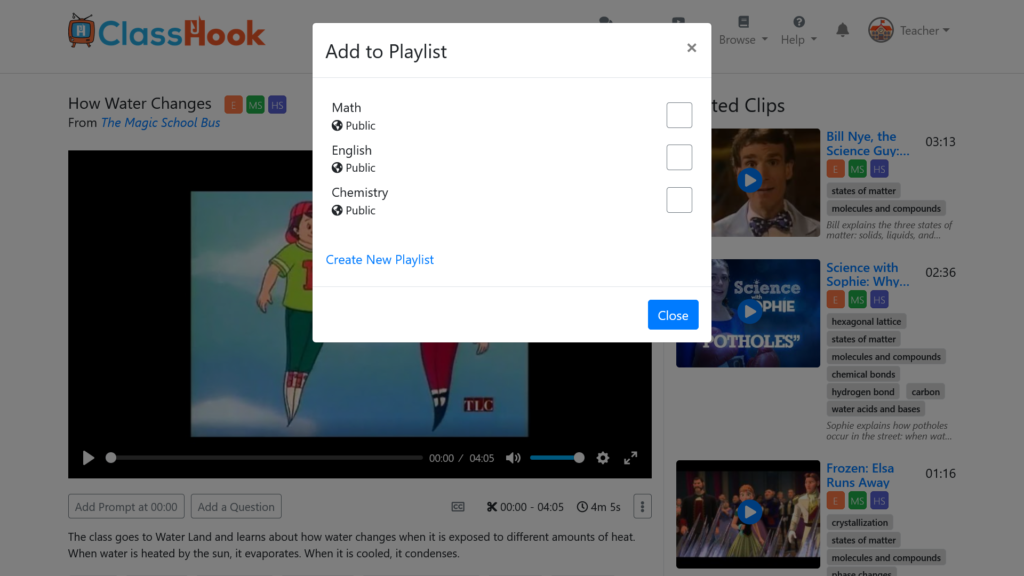
Step 3: Select a playlist
Select a playlist by clicking the checkbox to the right of it. On this popup you can also create a new playlist.
Step 4: All done!
When you’ve added a clip to a playlist, the box will be checked. To remove a clip from a playlist, just check the box again.

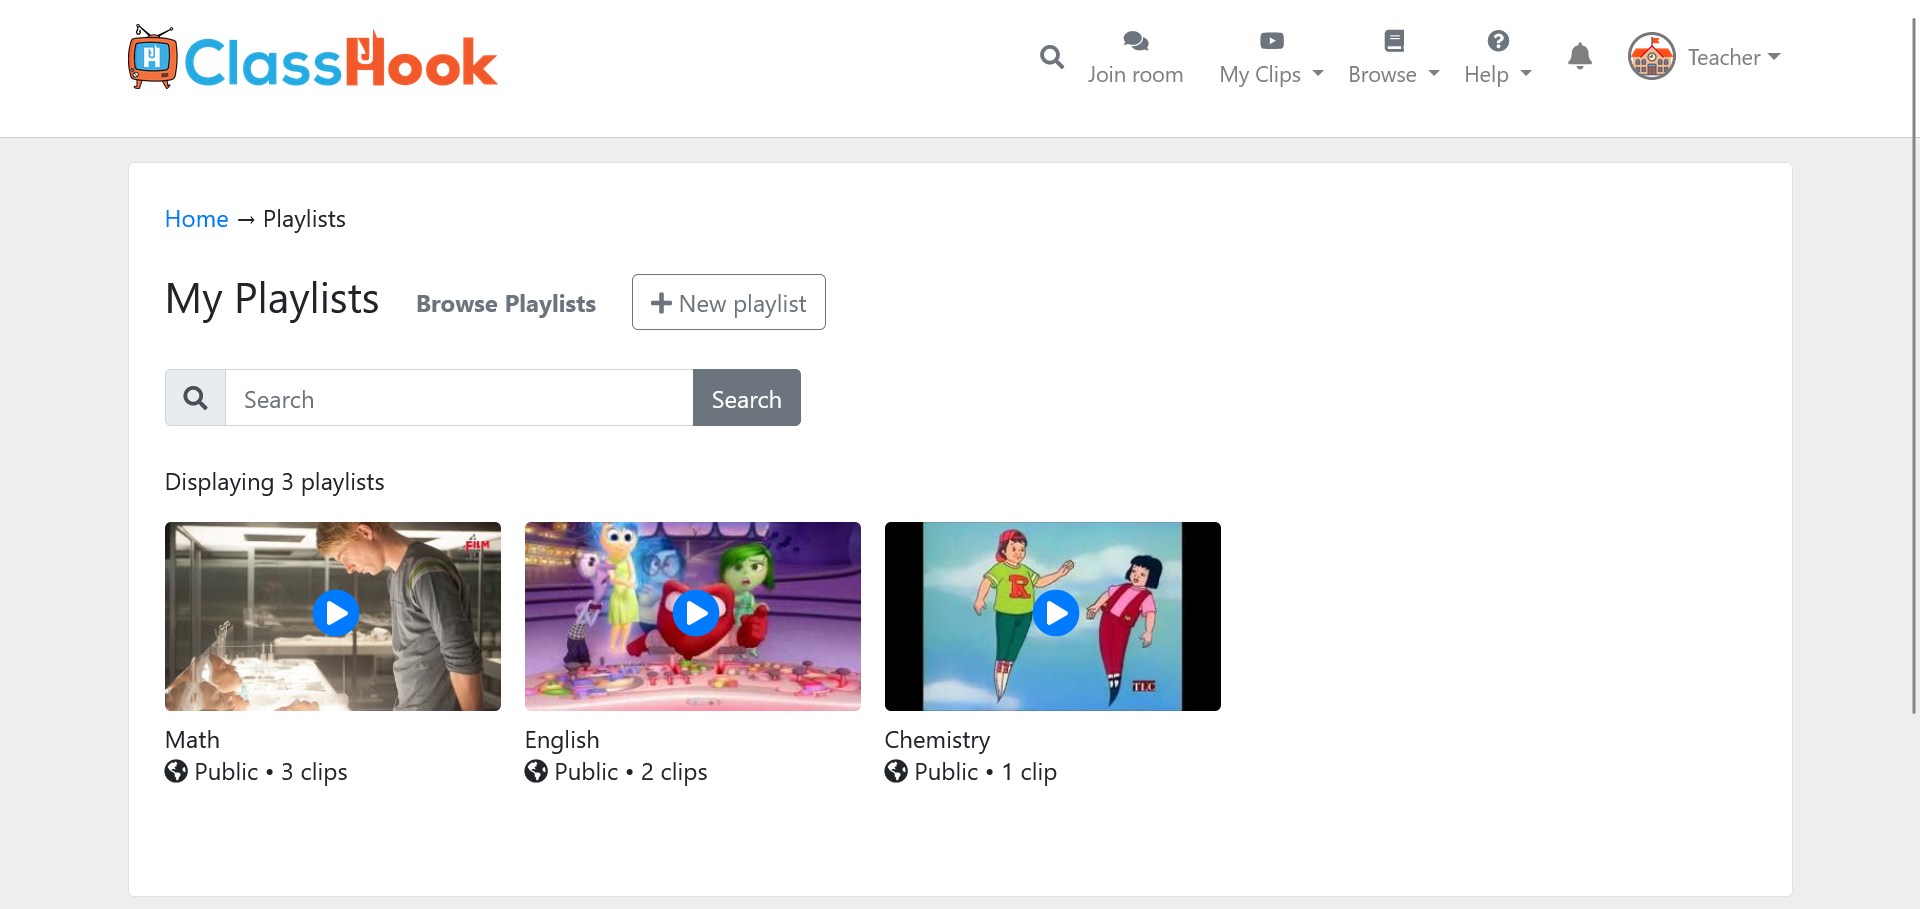
Accessing Playlists
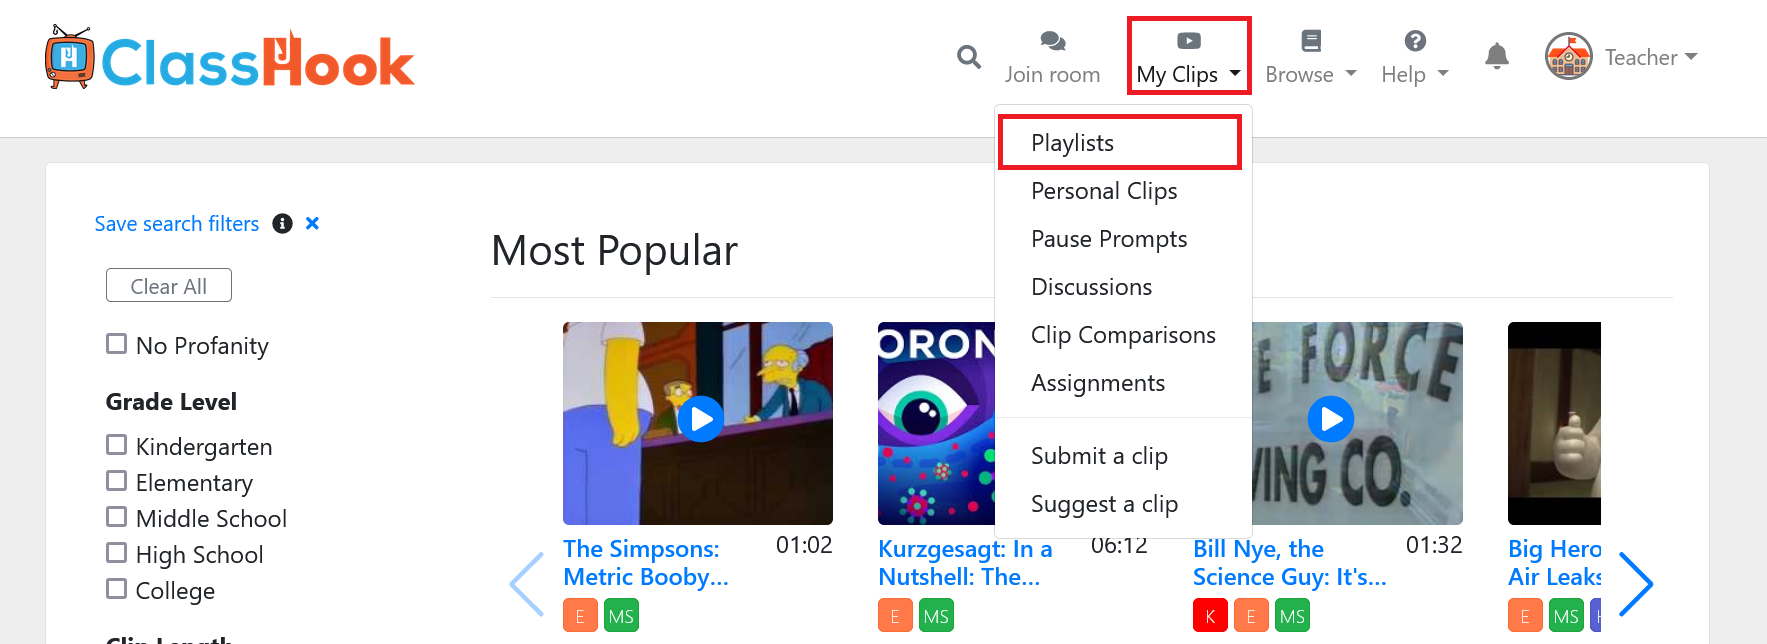
You can access your playlists by selecting My Clips > Playlists from the top navigation. This will bring you to a page that lists all of your playlists.
You can sort your playlists by a number of criteria including title, role, visibility, the number of clips in it, and the grade levels it supports. You can also view and edit your playlists from this screen.
Playlist Visibility Settings
Playlists have visibility settings so you can set who can view and access your playlists.
Public: Anyone can search for and view the playlist. Visitors who are not logged into ClassHook will be able to view up to 5 clips in the playlist.
Private: Only you and collaborators can view the playlist.
Unlisted: Anyone with the link can view all of the clips in the playlist. We recommended this setting for sharing with students.
Bookmarks
Bookmarks were another way of organizing your clips on ClassHook. They were removed on August 16, 2021.